Choosing to live A Bollder Way

|
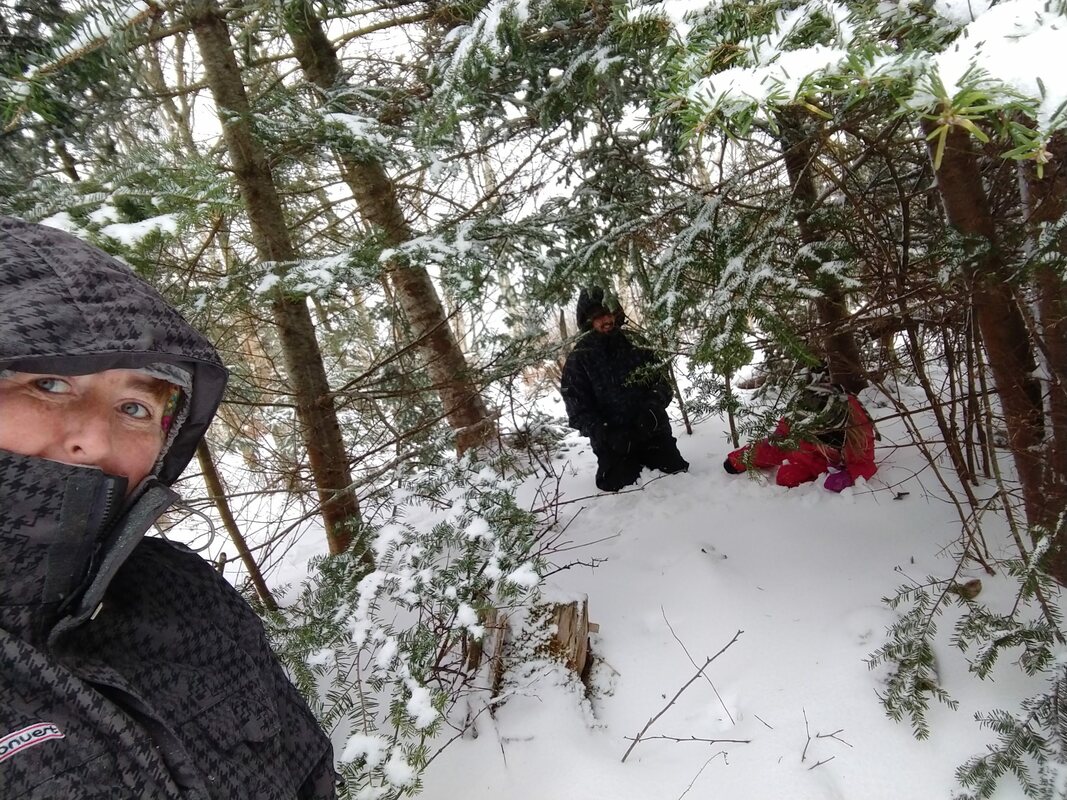
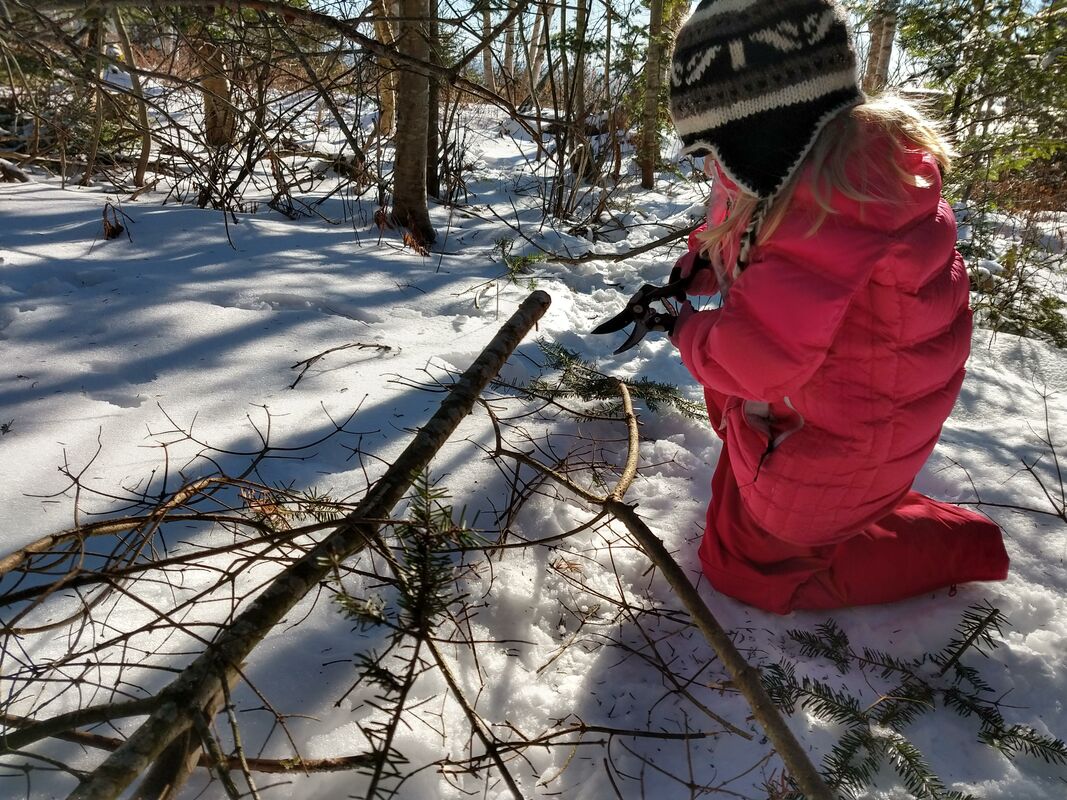
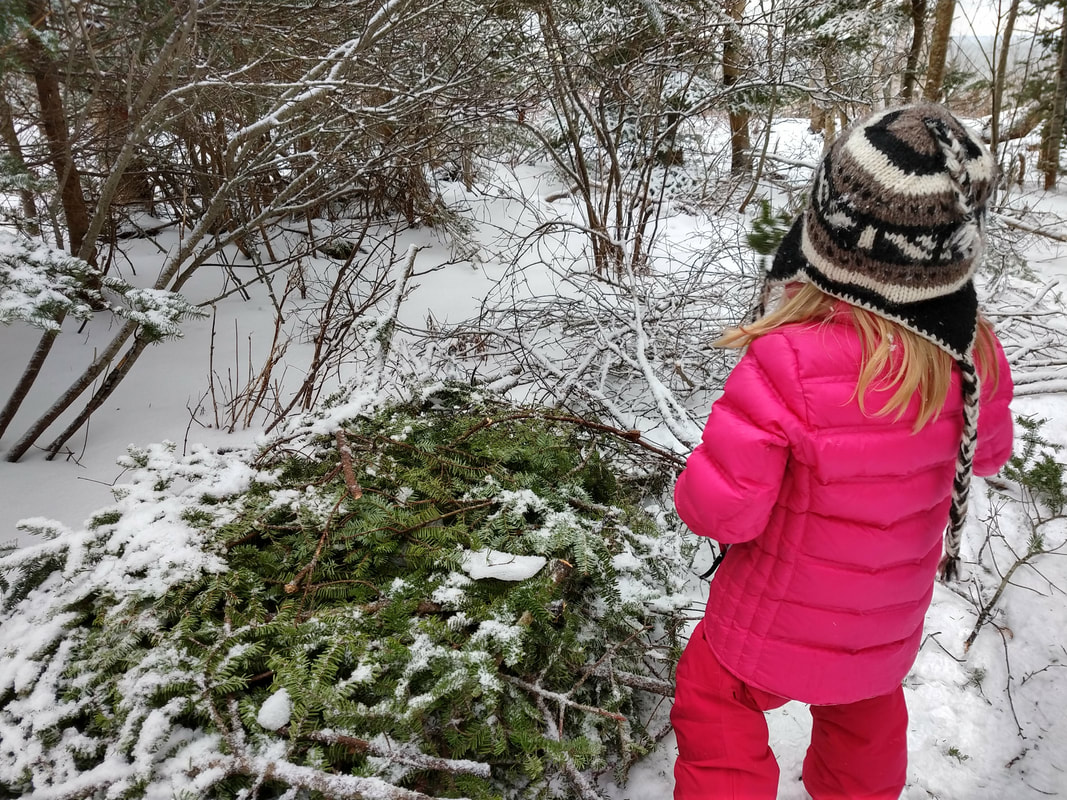
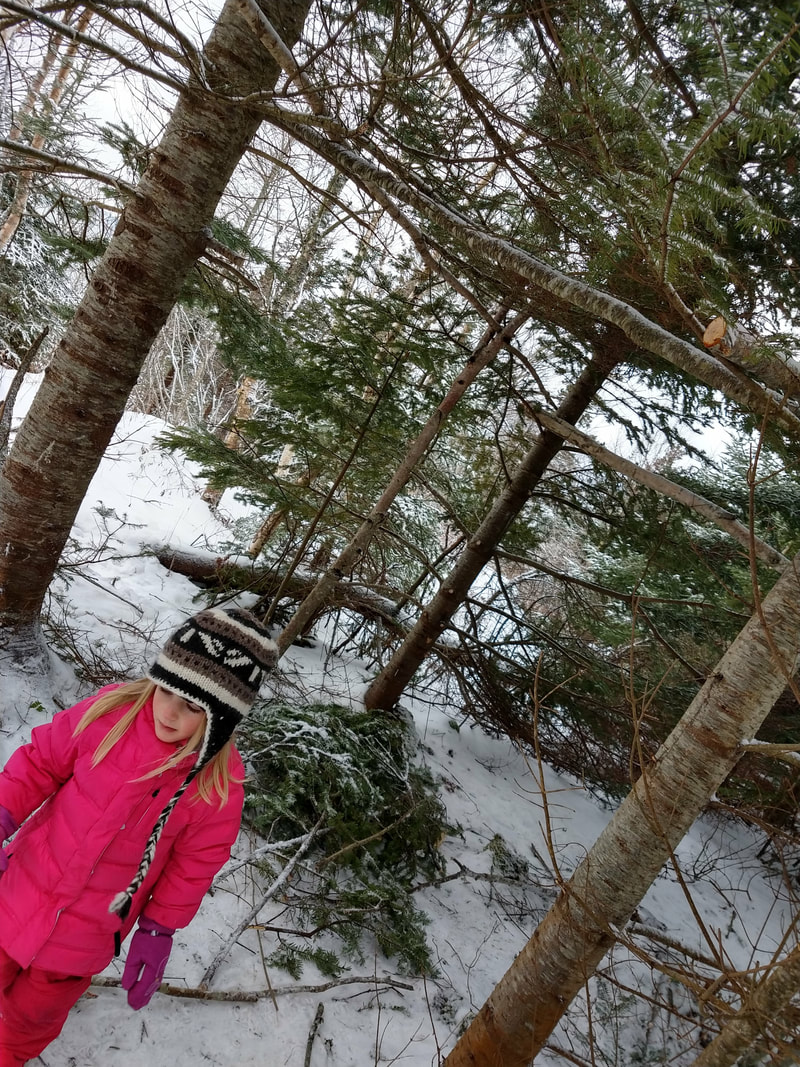
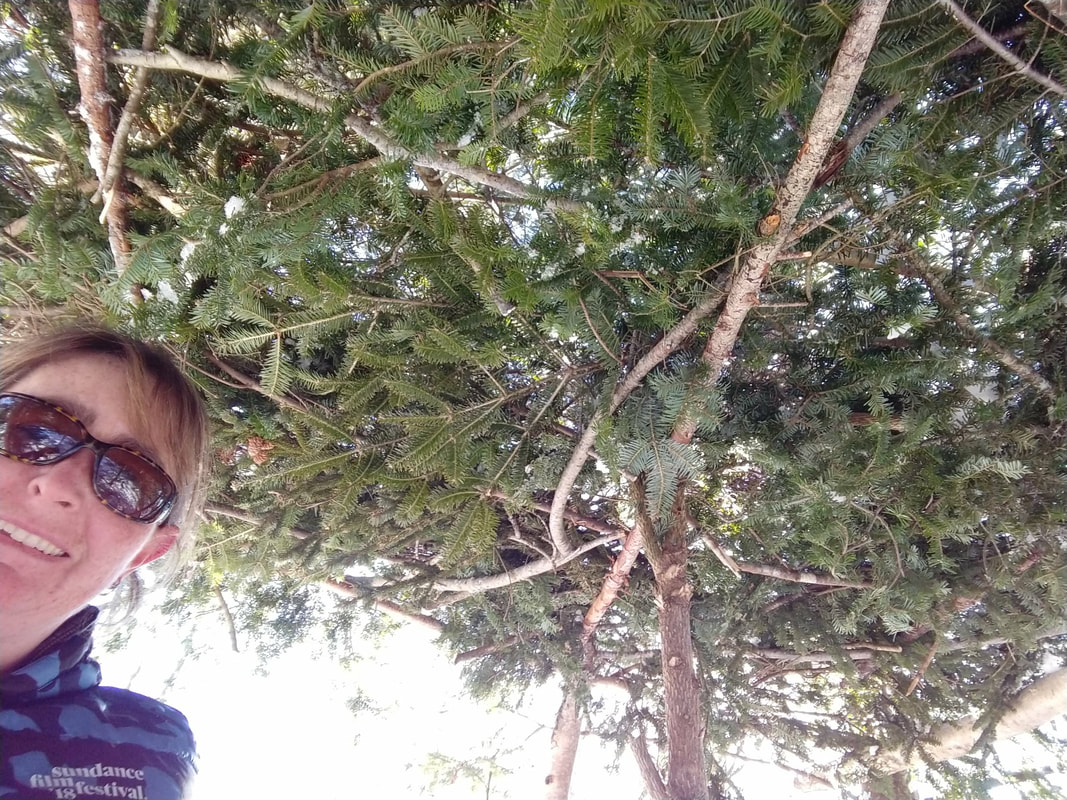
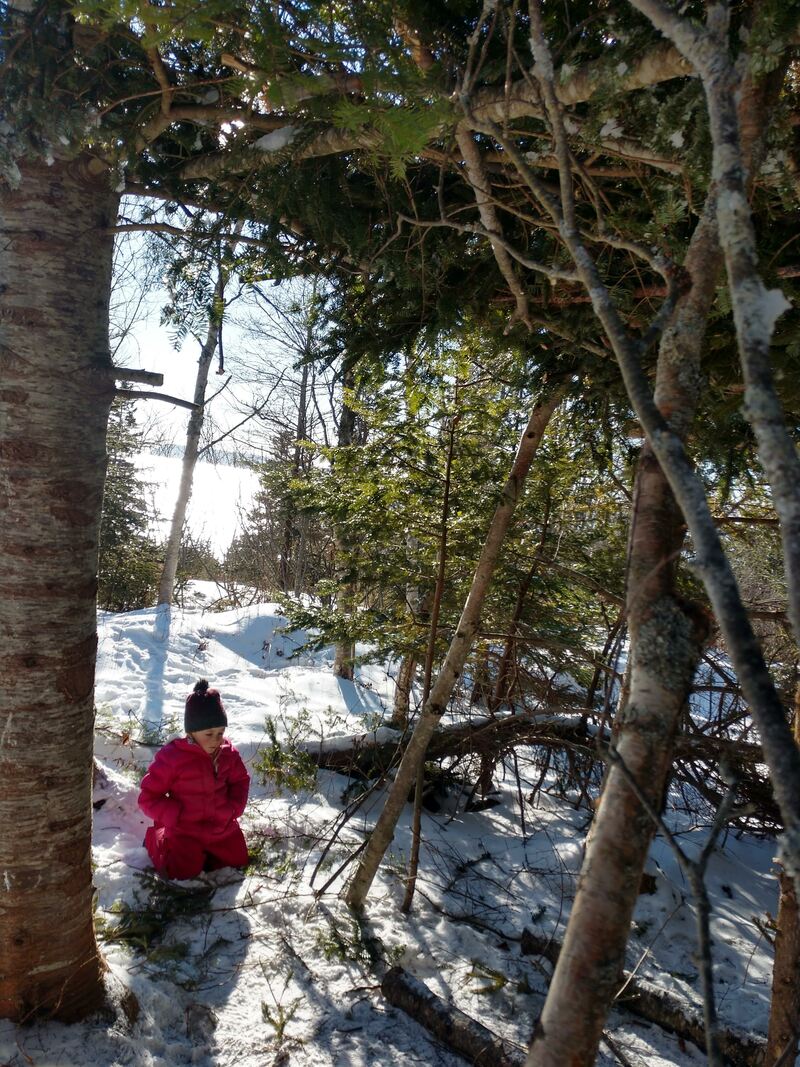
Winter in Canada can provide a myriad of temperatures and weather patterns. With all the fluctuation, it is important to have adequate shelter. Being in the woods, we took the opportunity to begin construction of a tree shelter. We chopped down a tree so that we could use the top as our Christmas tree. From there, we stripped the unused trunk of its branches and began construction of a shelter in a spot that had four trees in the shape of a nearly perfect square. We thinned some trees around the property and used the stripped trunks to form the frame of our roof and one of the walls. We then used the branches we had stripped to cover the frame and provide a roof. The end result was a (somewhat) reliable shelter that was mostly kept free from damaging weather throughout the winter season. We will make some modifications and improvements through the summer and hopefully have an even sturdier structure for this coming winter. Here are the steps we took to make our shelter: 1. Clear the area - We found a space that was relatively clear of debris with enough room to move around comfortably. We cleared low hanging branches using a hatchet and/or hand saw. It was helpful to leave a couple inches on some of the branches to act as hangars for coats and bags. 2. Prepare materials - We have plenty of trees on our property and specifically chose ones that were being crowded out by other close trees. We cut down mostly Balsam Fir as we have many of these and their fanning branches with flat needles make great shelter material. A chainsaw made this process significantly faster but we did use our hand saw for some of the smaller trees. After a tree came down, we stripped it of the branches and put all the branches that fanned out well in a pile for use later. 3. Build the frame - We used longer, thicker trunks to act as the frame and wedged them among the crook of the branches to be stabilized. We added one across the middle and supported that with a y-shaped trunk that reached from floor to ceiling. We also added two beams that extended off one side of the shelter from ceiling to ground at a 45 degree angle. This would act as a weather barrier from northeasterly winds. 4. Construct the ceiling - Using the fanning branches from earlier, we started in one corner and placed branches along the ceiling beams in a diagonal direction while interlacing them as much as possible. We proceeded down the barrier until we had covered the entire ceiling and wall filling in any gaps. 5. Have a picnic - We brought out some cucumbers, carrots, hummus, and flat pretzel chips to enjoy some winter warmth beneath the sun.
7 Comments
8/1/2022 04:05:04 am
Really informative article, I had the opportunity to learn a lot, thank you. https://takipcisatinalz.com/takipci-2/ 8/2/2022 07:56:51 am
Really informative article, I had the opportunity to learn a lot, thank you. https://takipcialdim.com/ucuz-takipci-satin-al/ 8/3/2022 12:45:38 am
Really informative article, I had the opportunity to learn a lot, thank you. https://www.takipcikenti.com/instagram/turk-takipci/ 8/9/2022 03:00:15 am
Really informative article, I had the opportunity to learn a lot, thank you. https://www.smsbankasi.net/2022/01/okex-nedir-nasl-kayt-olunur-nasl.html 8/9/2022 05:04:28 am
Really informative article, I had the opportunity to learn a lot, thank you. https://www.smsbankasi.net/2022/08/amazon-shopify-aliexpress-walmart-ebay.html 8/19/2022 01:59:20 pm
Really informative article, I had the opportunity to learn a lot, thank you. https://guvenbozum.com/ Leave a Reply. |
Categories
All
Archives
April 2019
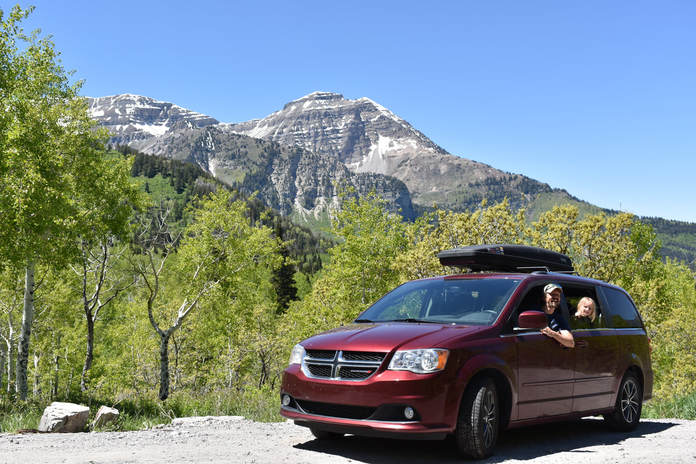
AuthorCarolyn and Will Bollwerk share their adventures with their 5 year-old daughter, Dylan. |
 RSS Feed
