Choosing to live A Bollder Way

|
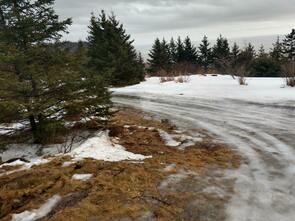
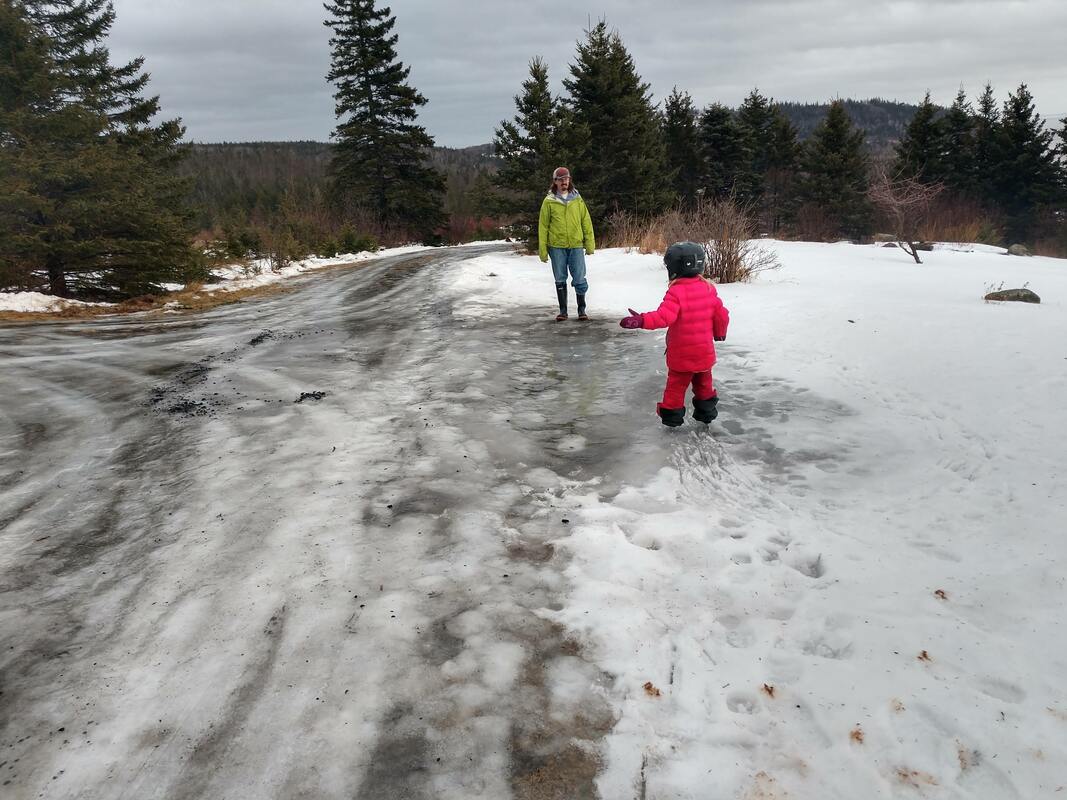
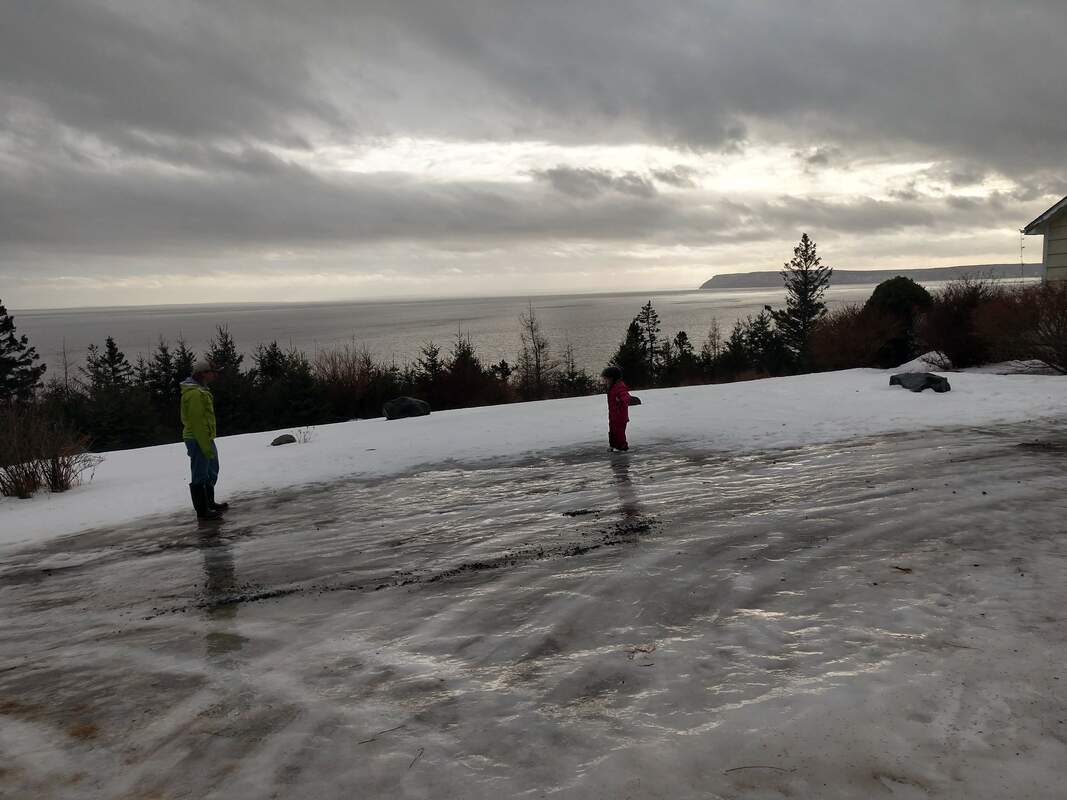
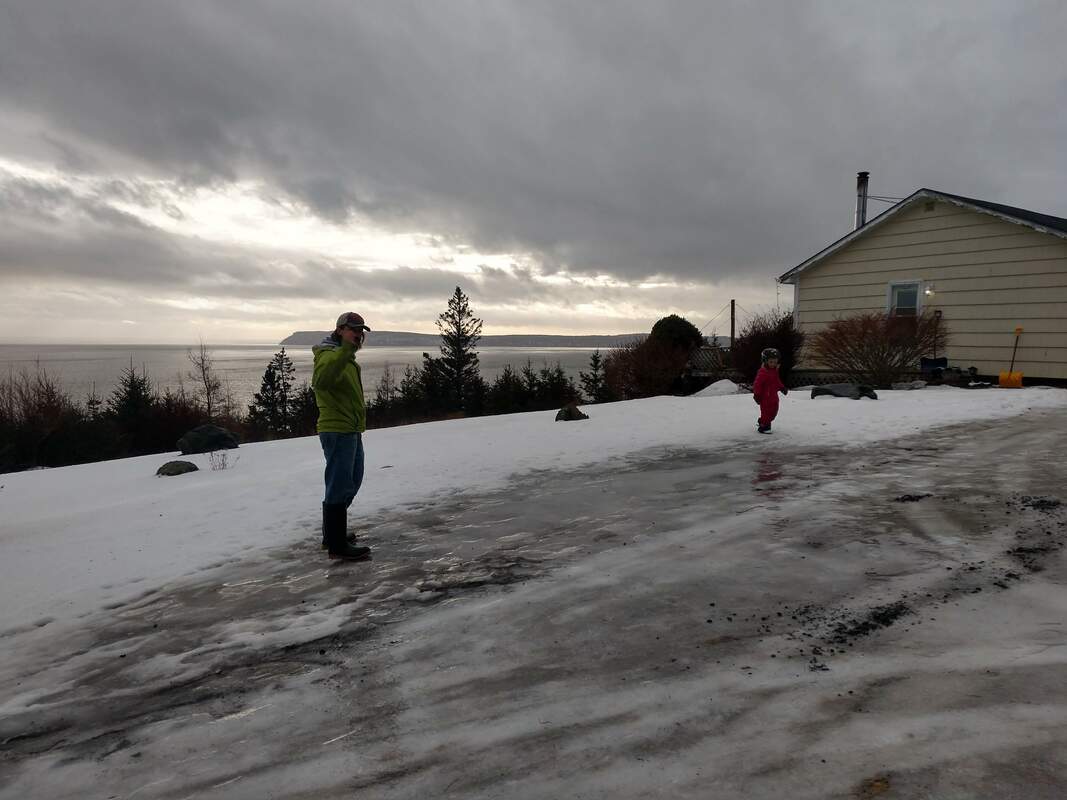
In February of 2019, we had an ice storm that blew through overnight. Check out our video of the aftermath:
0 Comments
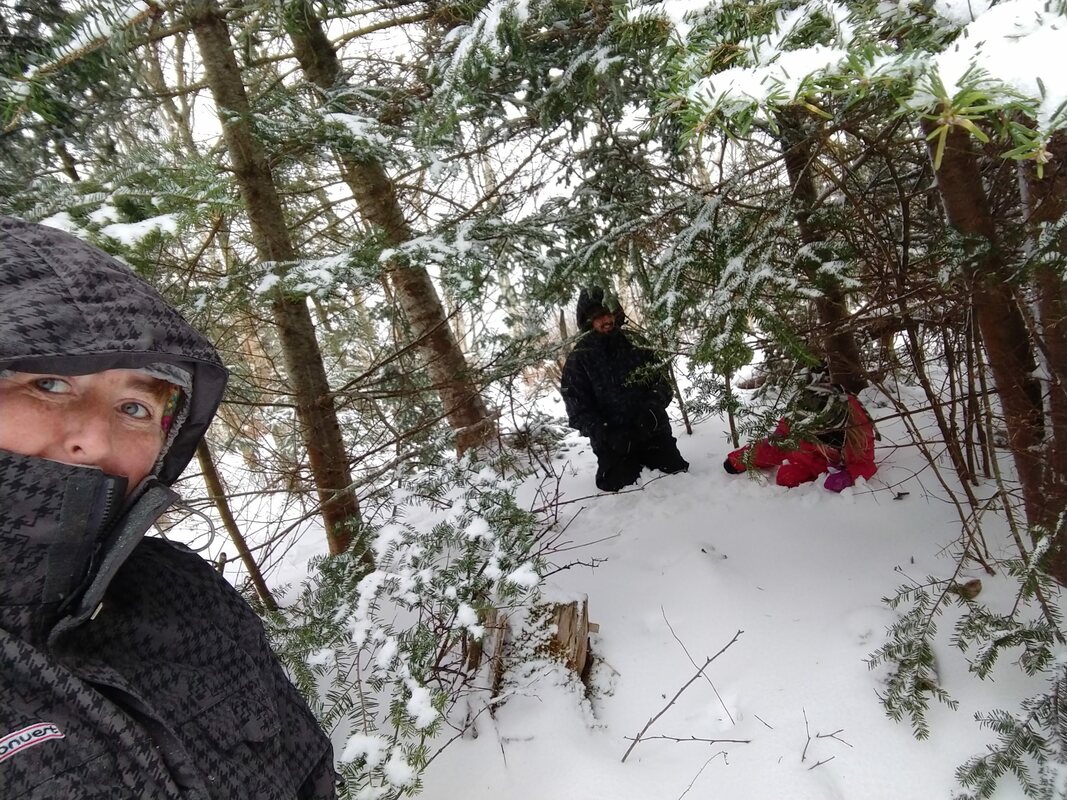
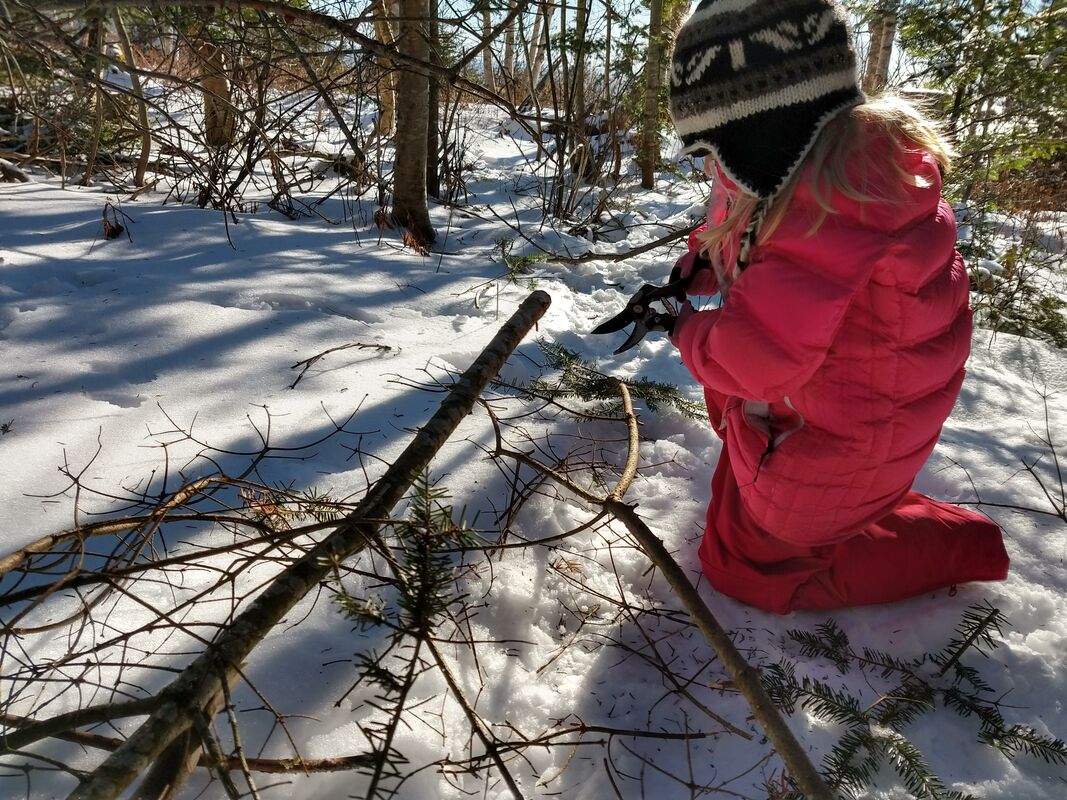
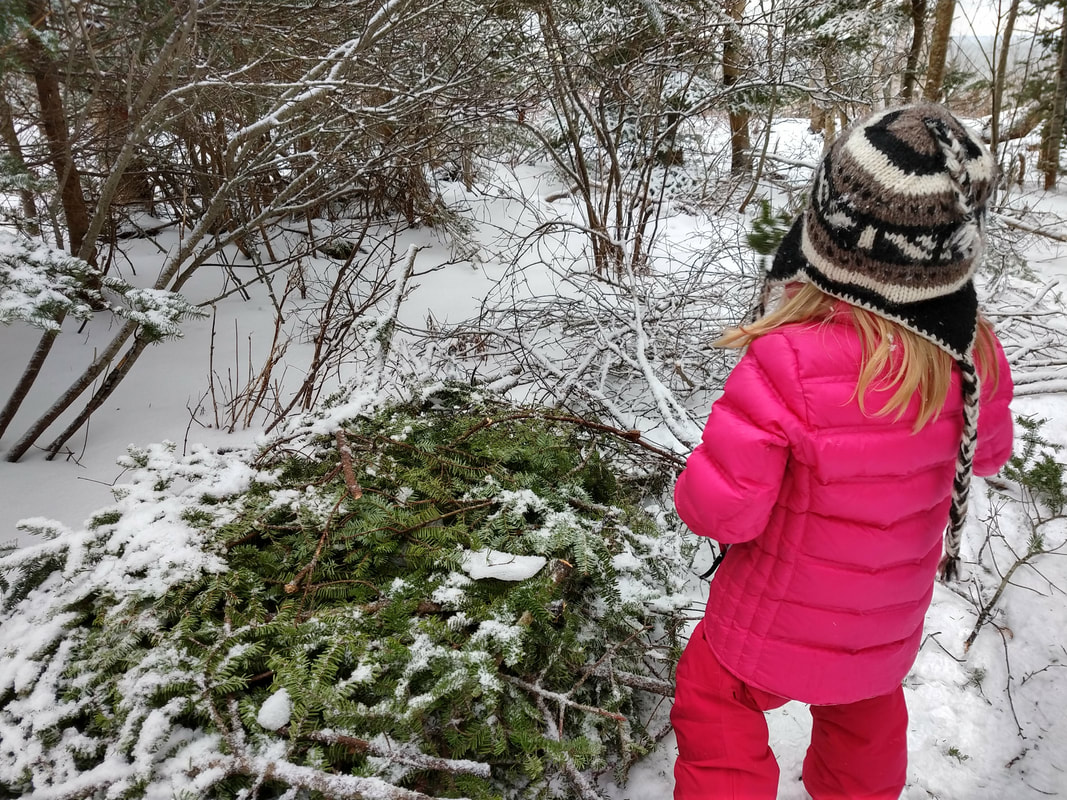
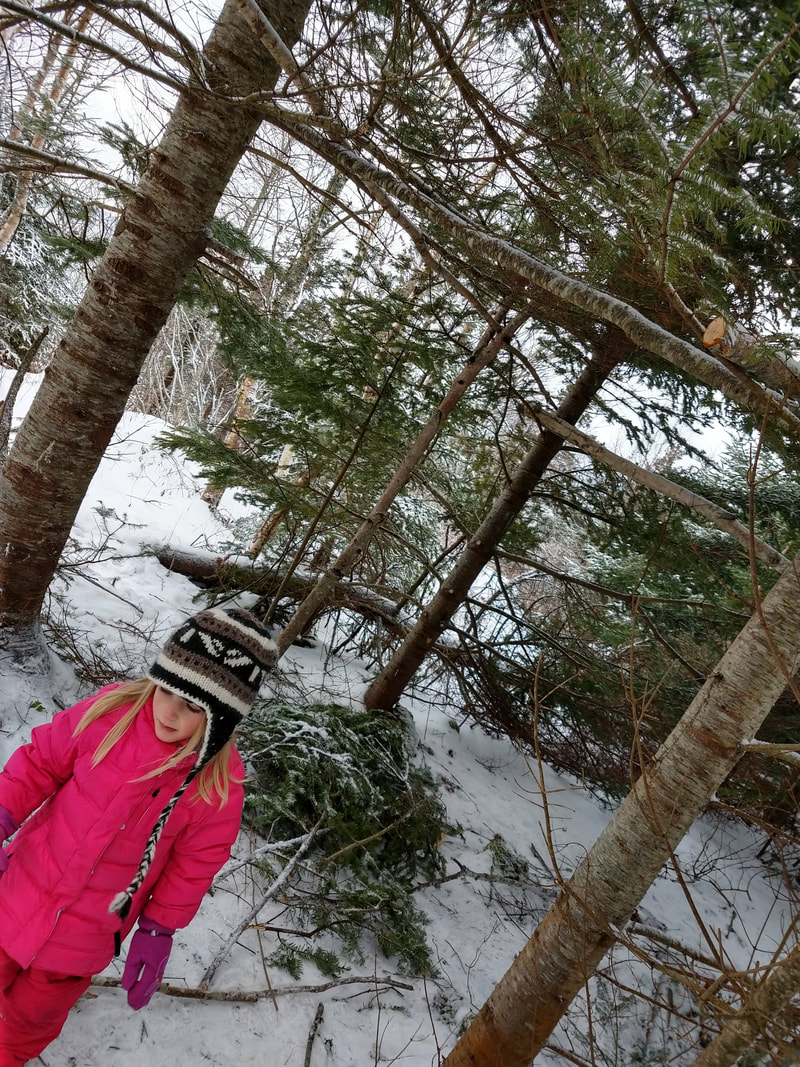
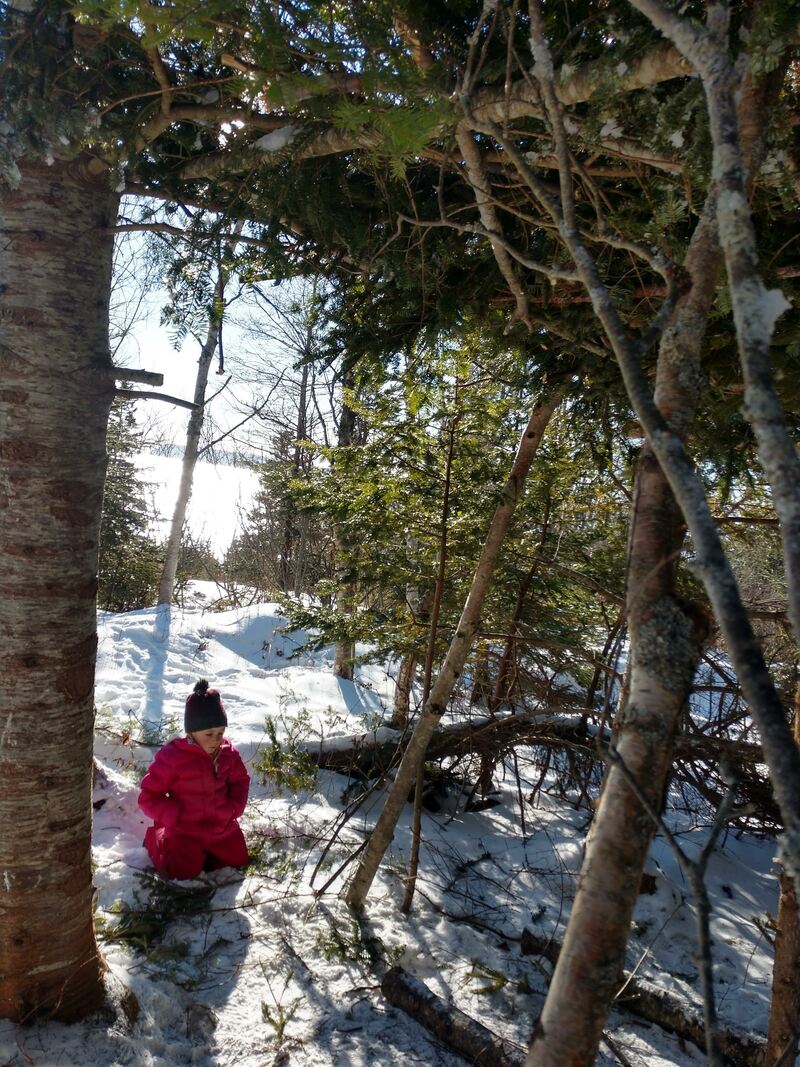
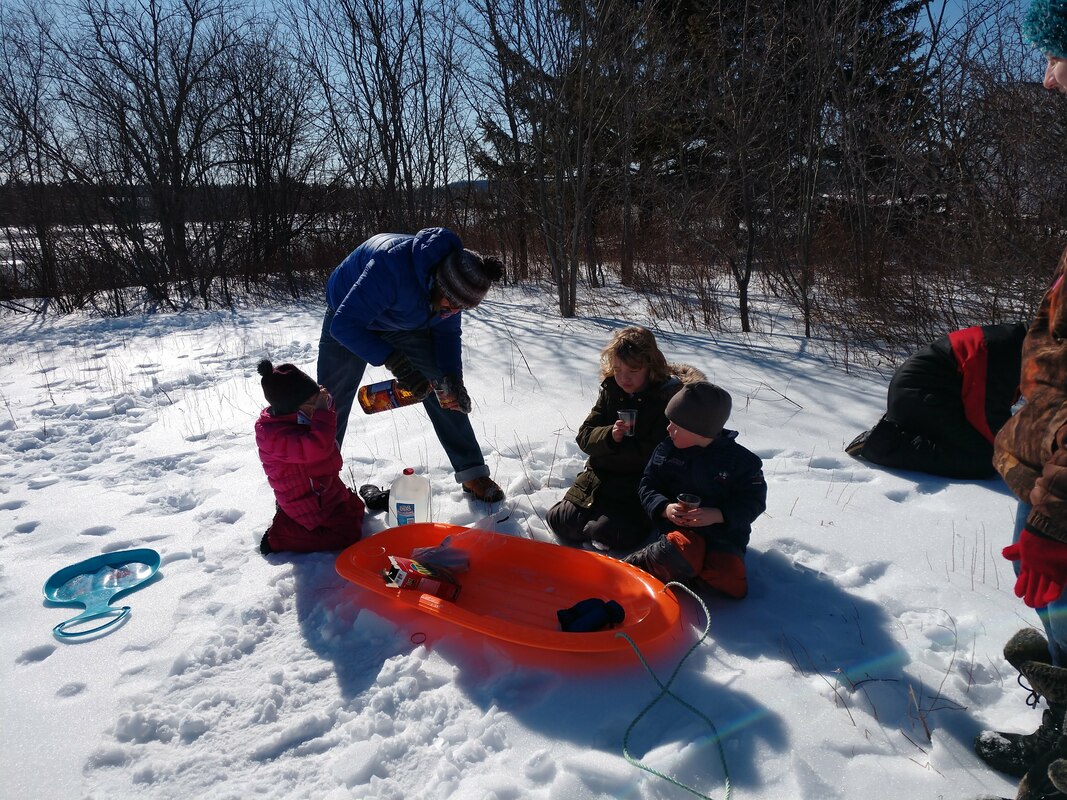
Winter in Canada can provide a myriad of temperatures and weather patterns. With all the fluctuation, it is important to have adequate shelter. Being in the woods, we took the opportunity to begin construction of a tree shelter. We chopped down a tree so that we could use the top as our Christmas tree. From there, we stripped the unused trunk of its branches and began construction of a shelter in a spot that had four trees in the shape of a nearly perfect square. We thinned some trees around the property and used the stripped trunks to form the frame of our roof and one of the walls. We then used the branches we had stripped to cover the frame and provide a roof. The end result was a (somewhat) reliable shelter that was mostly kept free from damaging weather throughout the winter season. We will make some modifications and improvements through the summer and hopefully have an even sturdier structure for this coming winter. Here are the steps we took to make our shelter: 1. Clear the area - We found a space that was relatively clear of debris with enough room to move around comfortably. We cleared low hanging branches using a hatchet and/or hand saw. It was helpful to leave a couple inches on some of the branches to act as hangars for coats and bags. 2. Prepare materials - We have plenty of trees on our property and specifically chose ones that were being crowded out by other close trees. We cut down mostly Balsam Fir as we have many of these and their fanning branches with flat needles make great shelter material. A chainsaw made this process significantly faster but we did use our hand saw for some of the smaller trees. After a tree came down, we stripped it of the branches and put all the branches that fanned out well in a pile for use later. 3. Build the frame - We used longer, thicker trunks to act as the frame and wedged them among the crook of the branches to be stabilized. We added one across the middle and supported that with a y-shaped trunk that reached from floor to ceiling. We also added two beams that extended off one side of the shelter from ceiling to ground at a 45 degree angle. This would act as a weather barrier from northeasterly winds. 4. Construct the ceiling - Using the fanning branches from earlier, we started in one corner and placed branches along the ceiling beams in a diagonal direction while interlacing them as much as possible. We proceeded down the barrier until we had covered the entire ceiling and wall filling in any gaps. 5. Have a picnic - We brought out some cucumbers, carrots, hummus, and flat pretzel chips to enjoy some winter warmth beneath the sun. Another science experiment we attempted in the chill of winter.
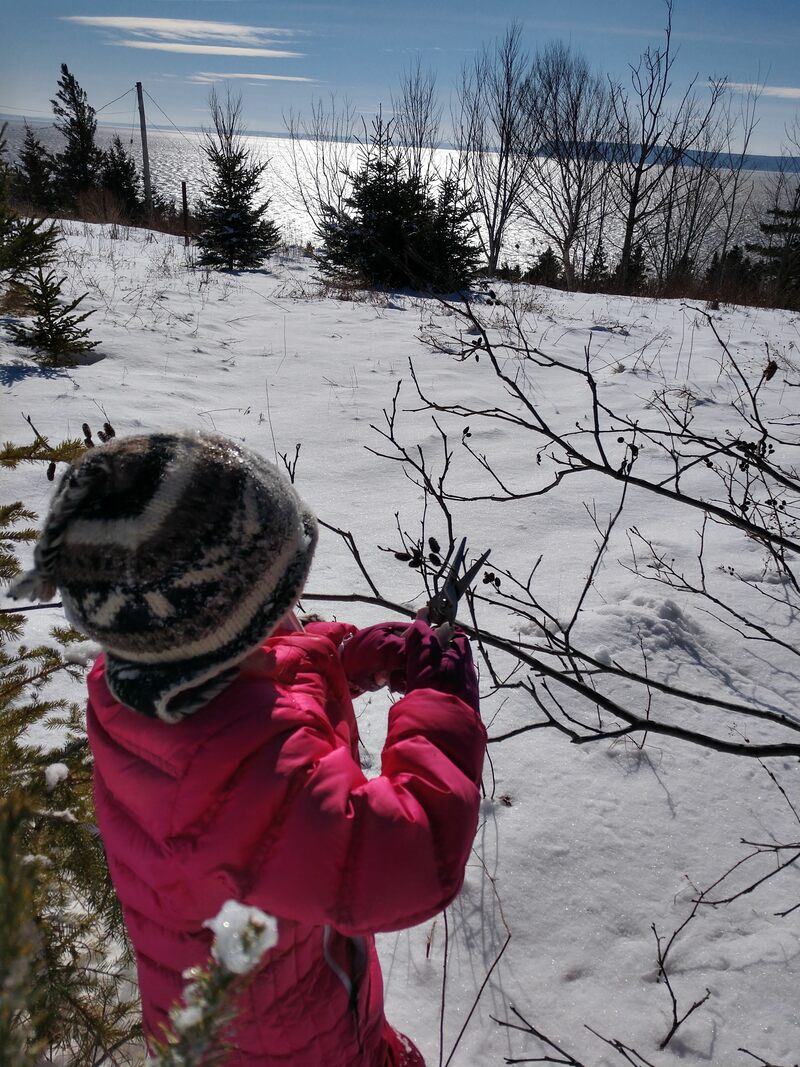
Did you know that you can make your own snow? All you need is boiling water and sub-zero temperatures. After boiling your water, proceed quickly and carefully outside. While the water is still boiling, toss it in the air away from you and others in the vicinity. The boiling water will immediately freeze because of something called the Mpemba effect. Ultimately, we don't know why this occurs but this video from Sciencium explains a few of the theories behind this. Check out our YouTube video of our experience here: 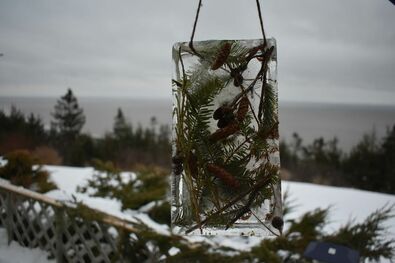 With temperatures staying below freezing for many days in the row it was time to test our artistic skills and make some outdoor ice sun-catchers. We made ours for decoration to hang on the porch so we wanted to use all natural materials. As we have been walking the property we have found many beautiful plant material in their winter rest and wanted a way to use it for decorations. Material: Pie and bread pan Natural material Rope/yarn/string Water Science with a five year old - Ice Sun-catcher
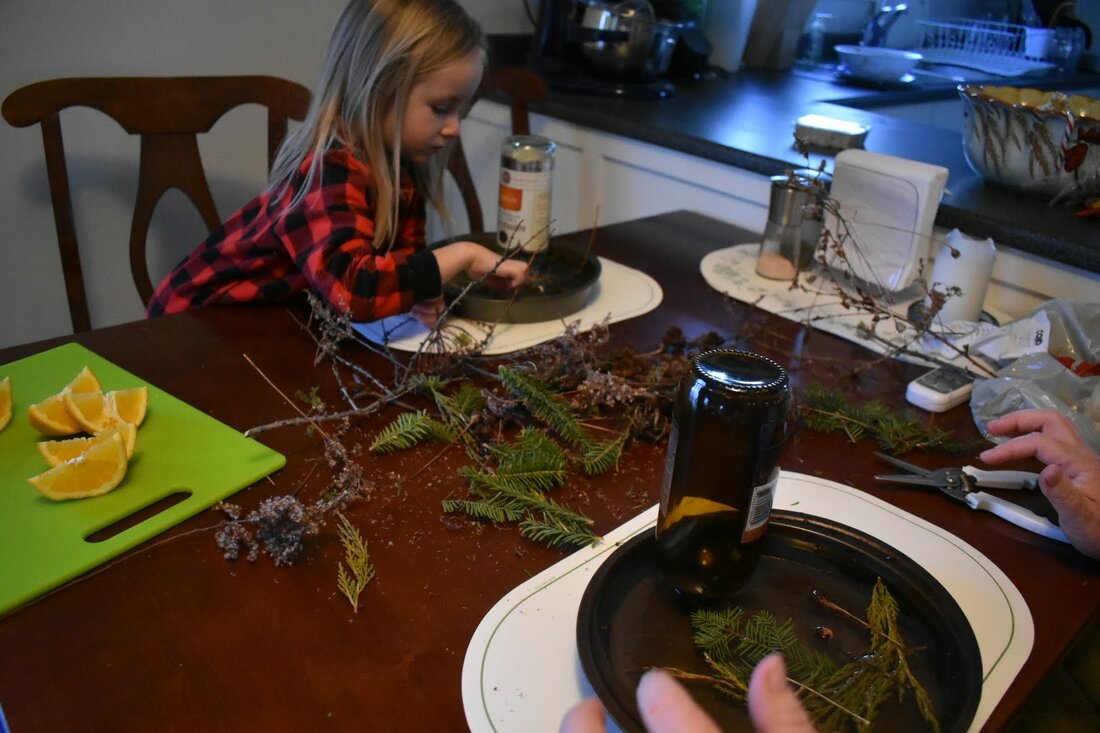
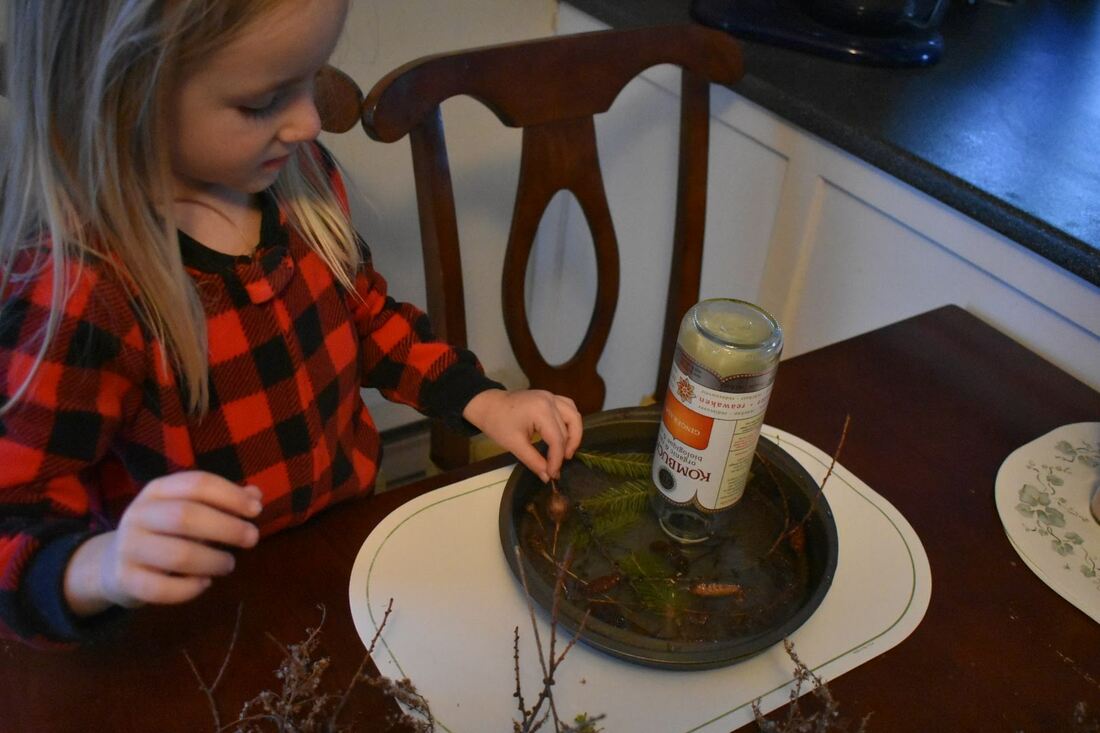
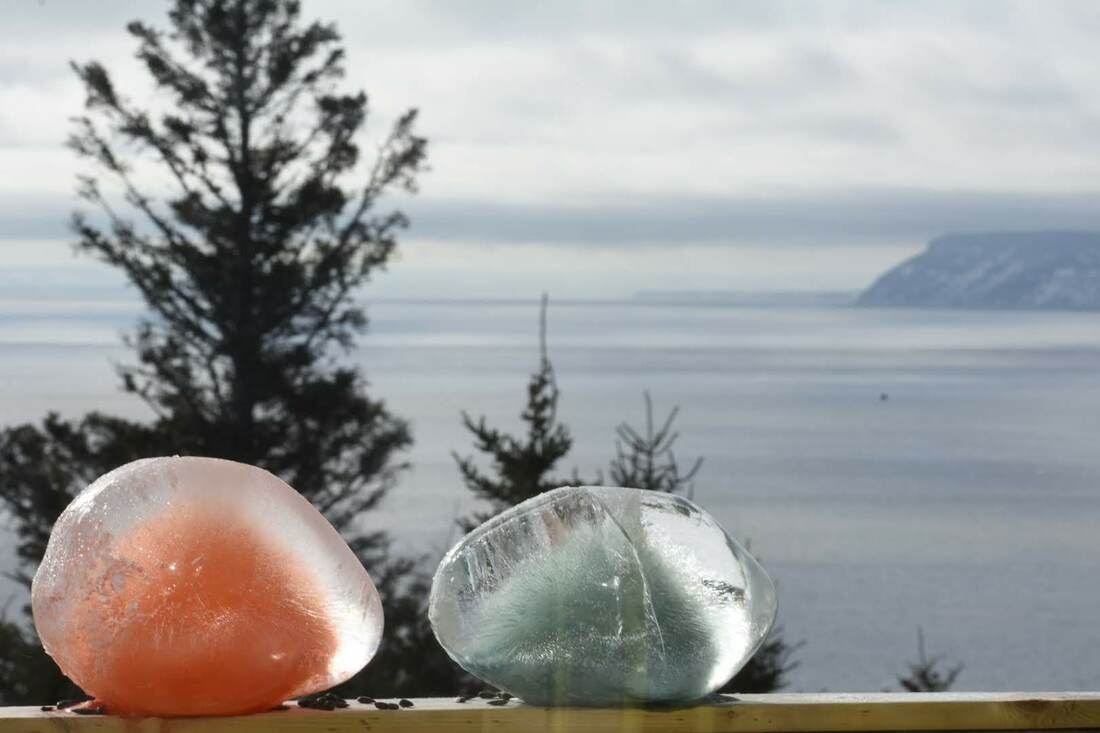
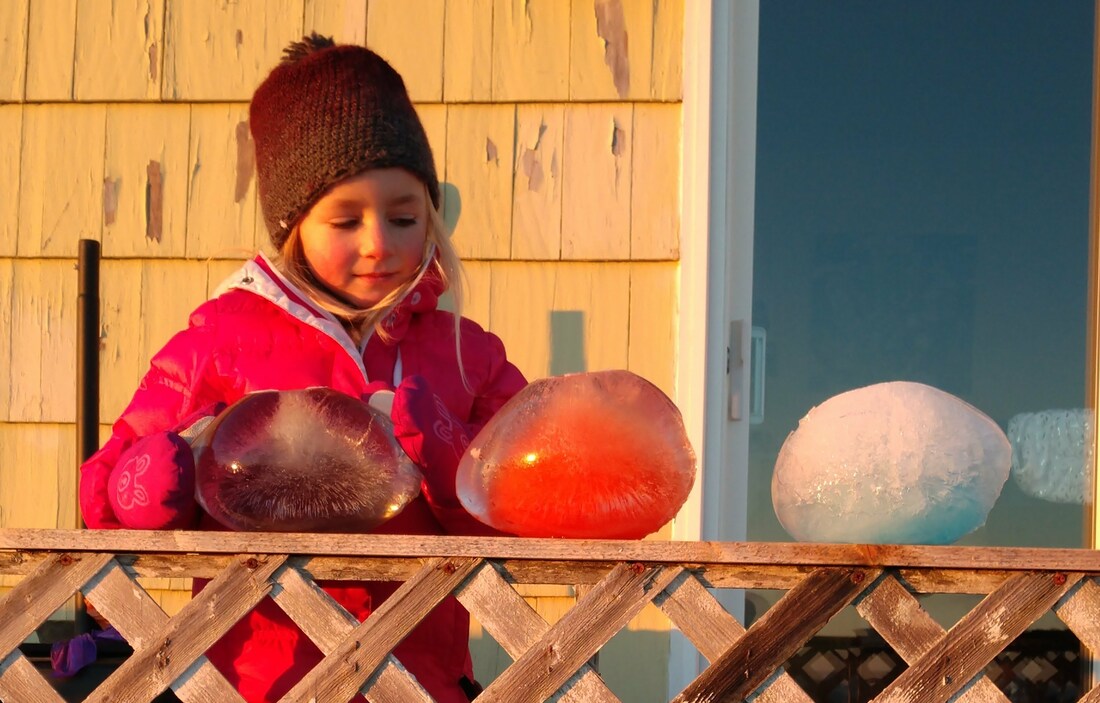
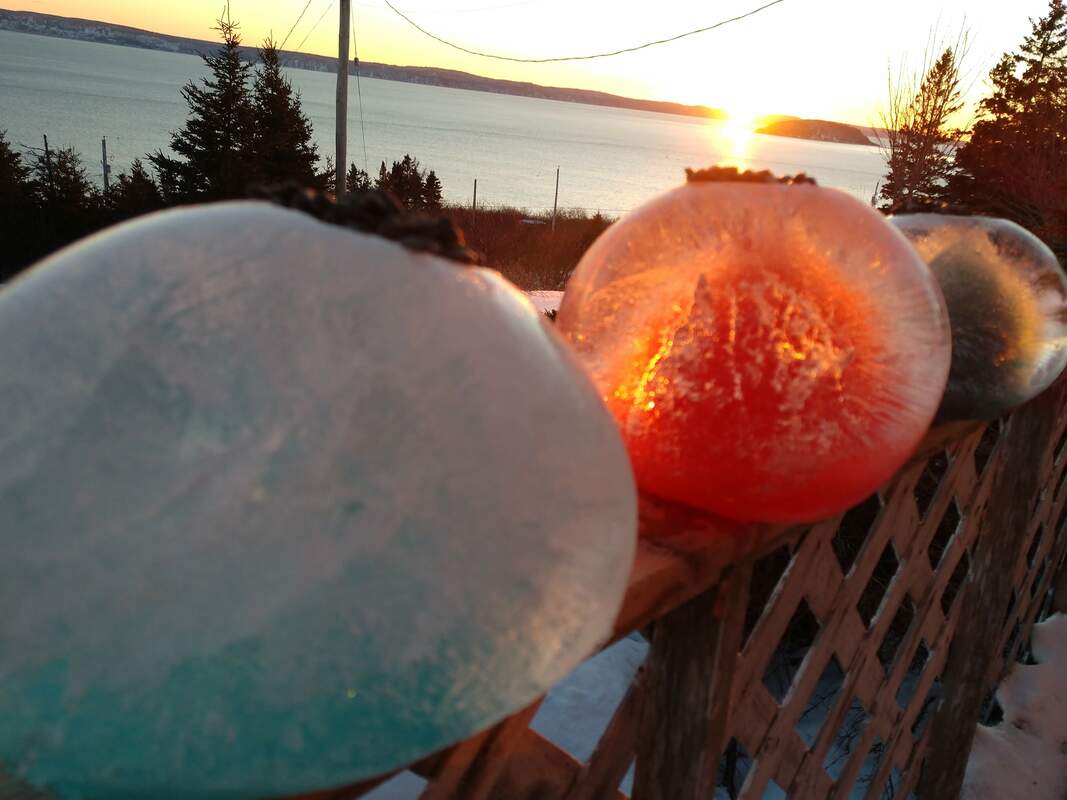
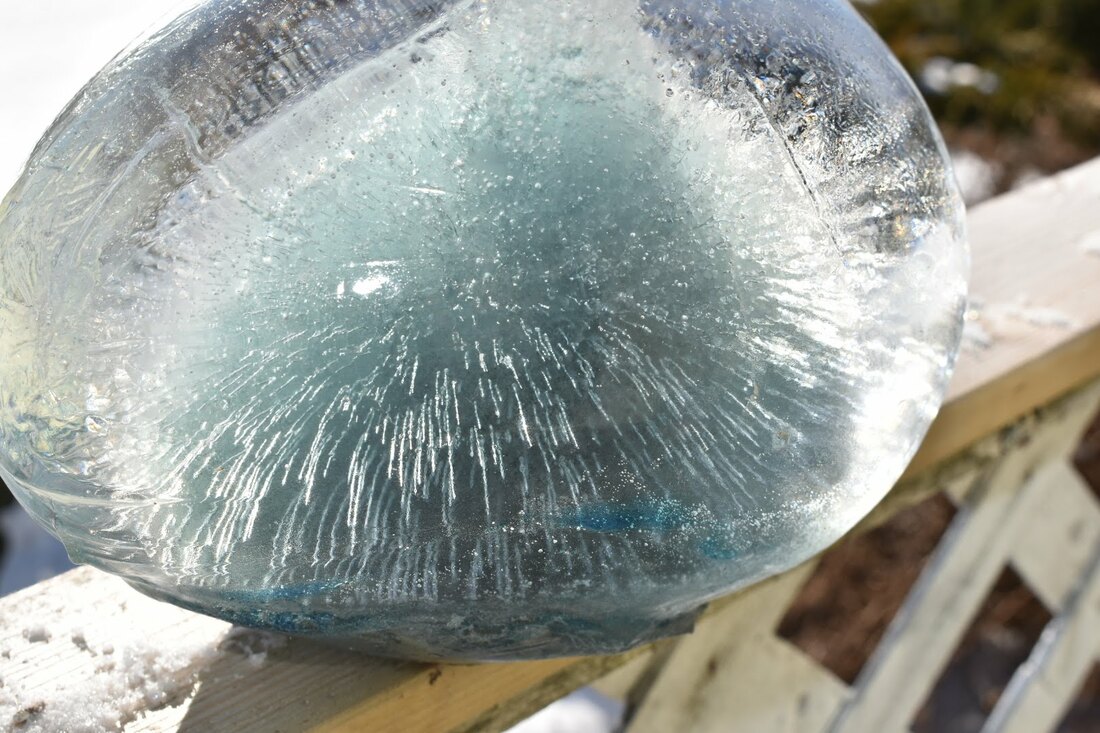
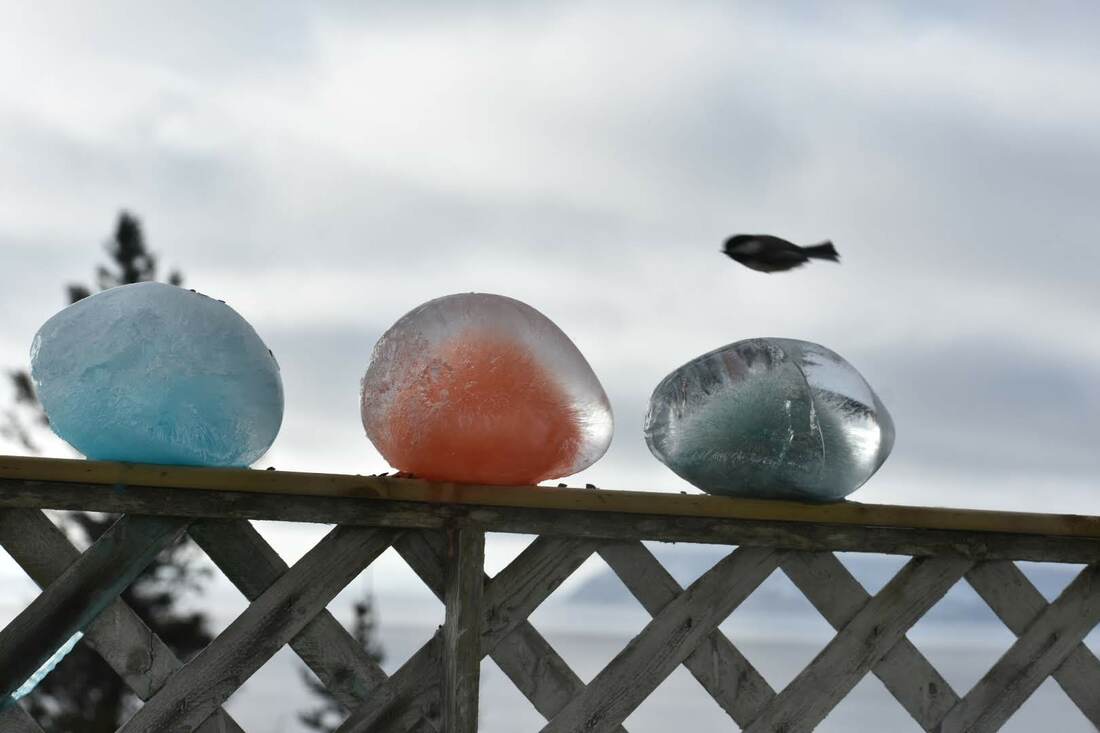
1. Hot water or tap water? we wondered if hot water vs tap water would make a difference in how it froze and how quickly it froze. Result: Because we froze them through the night we missed out on finding out which froze quicker, but we did find that the one with the hot water had more bubbles left in the ice, creating a cool effect. 2. What was the best way to hang our creation? Freeze something in the pan to create an empty space....Or freezing it with nothing and drilling a hole later...Or freezing a string into the creation. Result: we found that freezing the rope into with the material to be the best way to create a way to hang the finished design. We had a very hard time getting the bottle we used to create the hole out of the ice and the drill just broke the ice. 3. Decorative material or water first? Would putting the material or water in first be easiest for small designers? Results: Adding the water first, but only deep enough to cover the material allowed for the material to stay where it was placed, but carrying it did jostle the design slightly. The one we added the water to after the material shifted the design quite a bit. We would suggest, if you are able to create the design where it is going to freeze, that would be best. 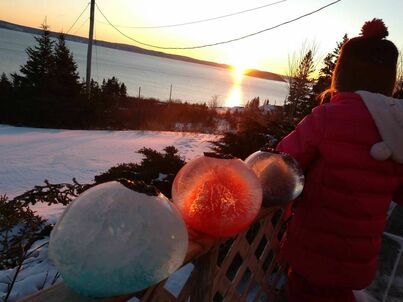 We did a few winter science experiments during the coldest months in Canada. Here is one we did in February. When the dead of winter sets in and temperatures are constantly staying below freezing, it is a perfect time to create some beautiful outdoor art to decorate your property. We also found that the tops of our globes have a divot the perfect size to hold seeds for the birds. Material needed: *balloons *water *food coloring *consistent freezing temperatures Instructions: Fill each of the balloons with water from the tap, put 5-10 drops of food coloring in the balloon, tie it closed and play outside for about 24 hours. Although these globes make a beautiful addition to the yard, they also create many open-ended science-based questions. Here are a few that were discussed in our household...
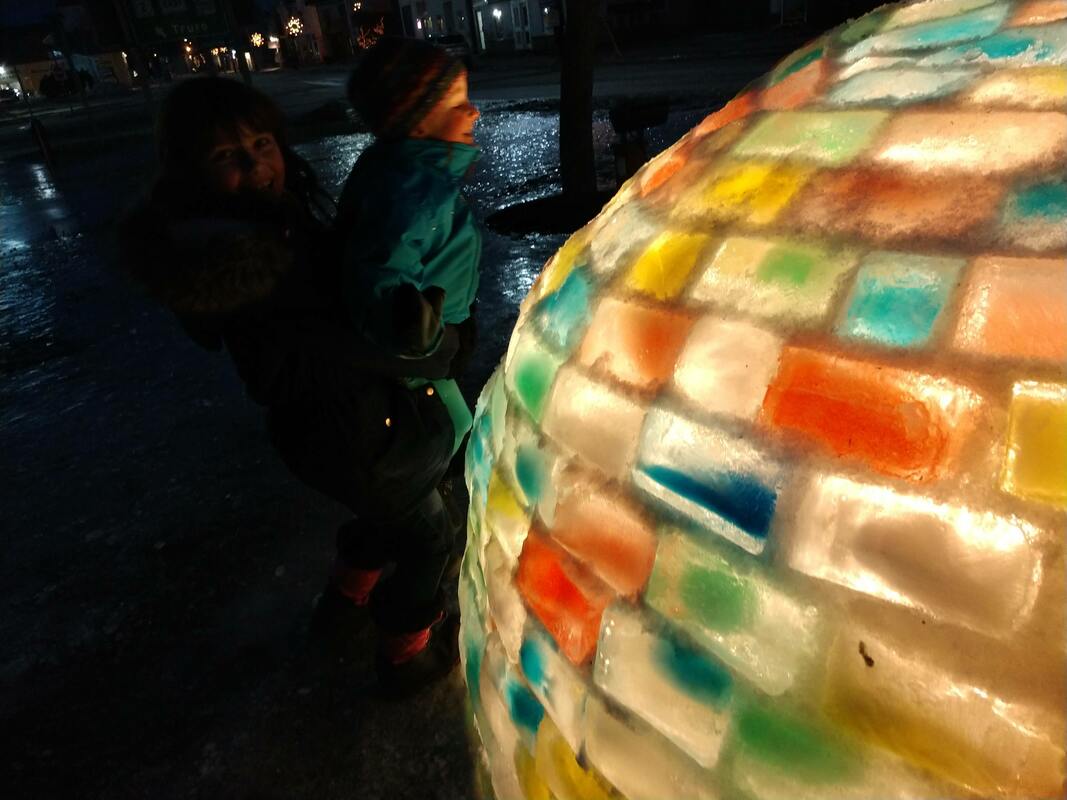
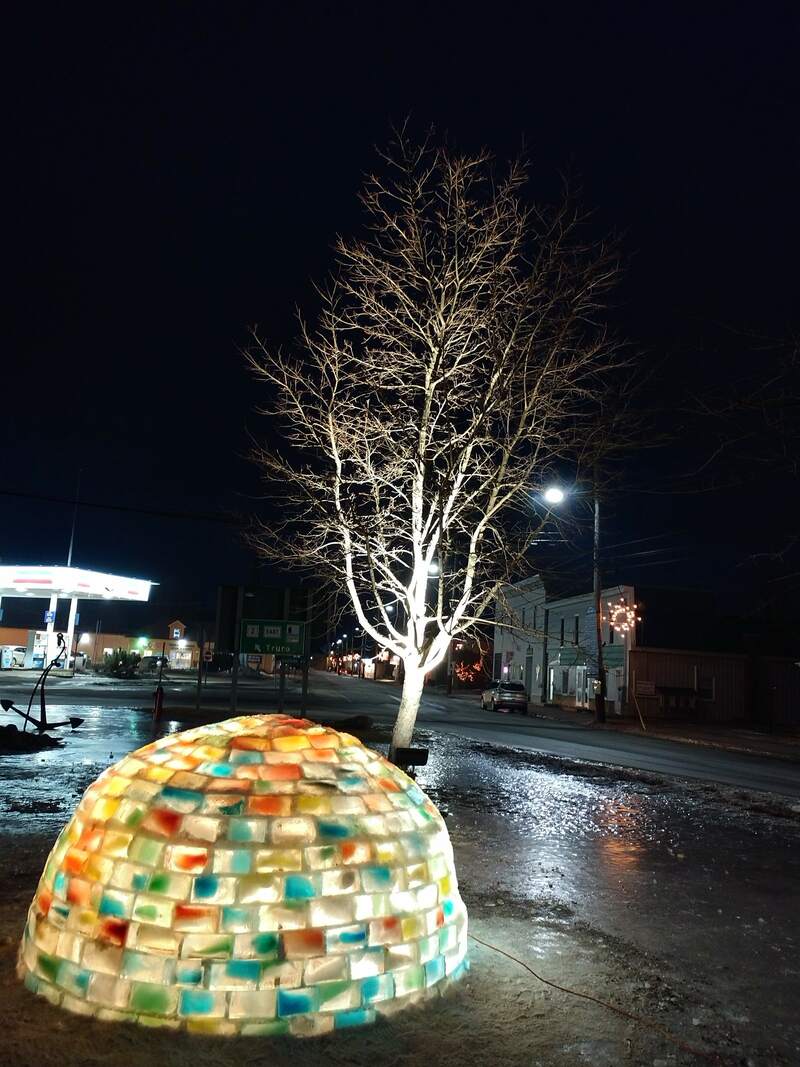
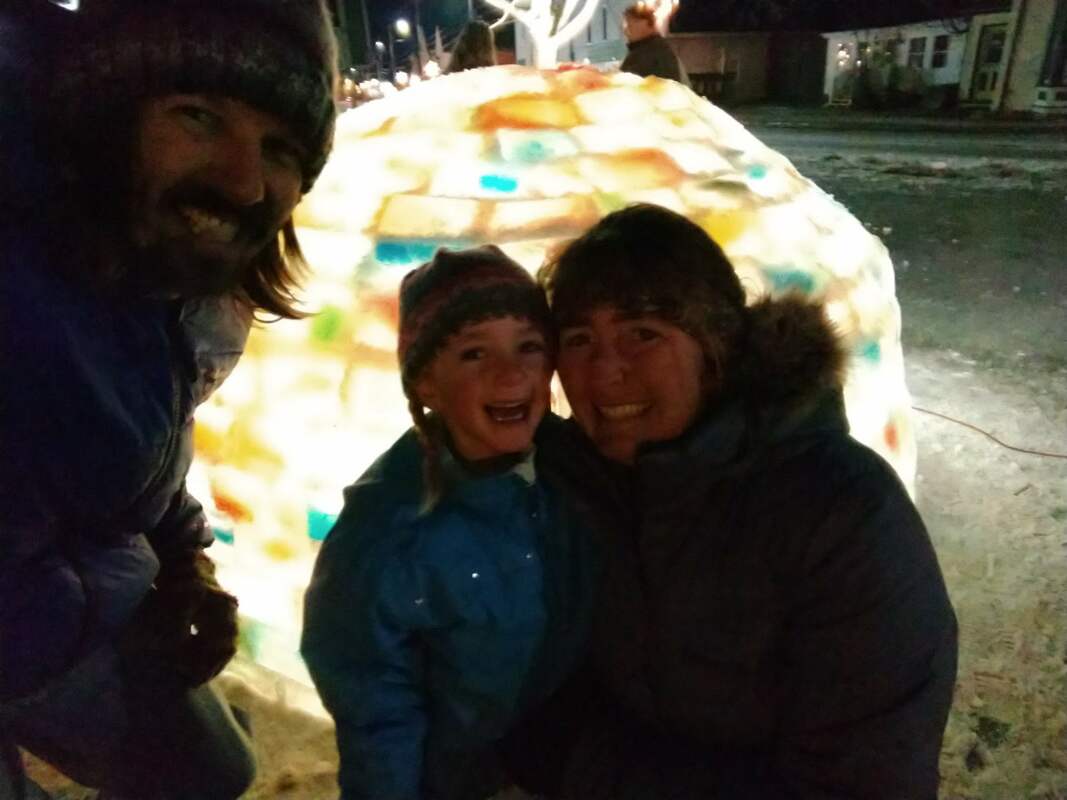
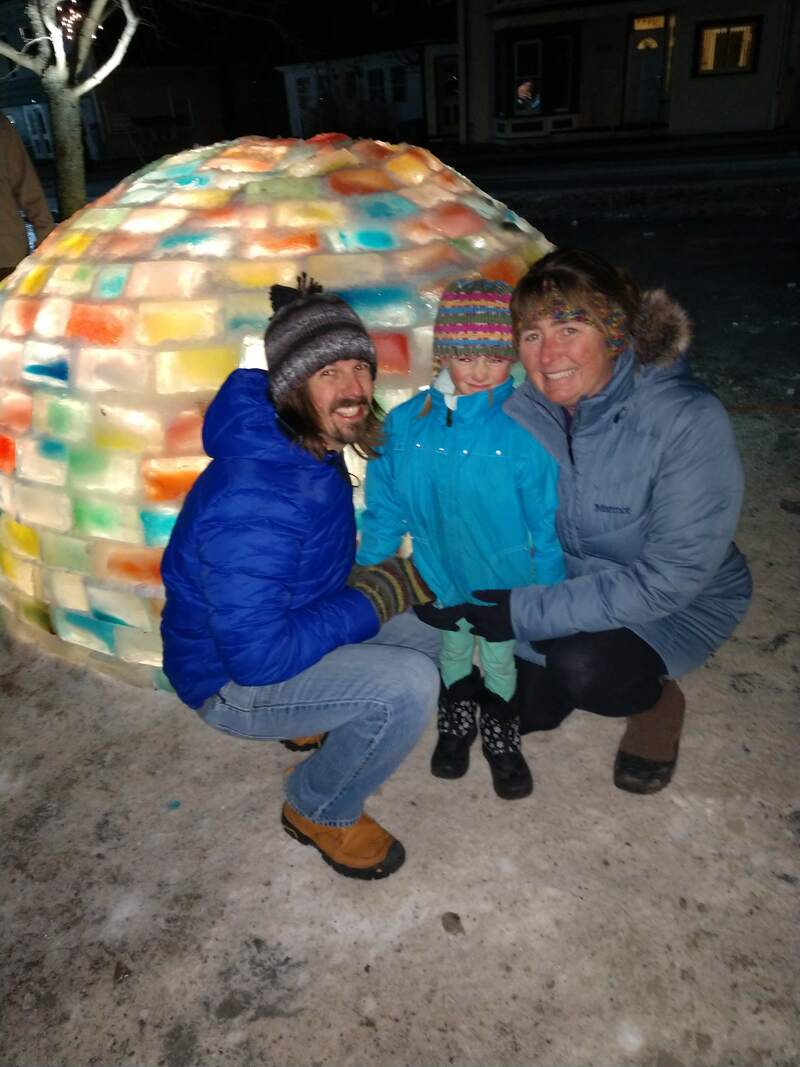
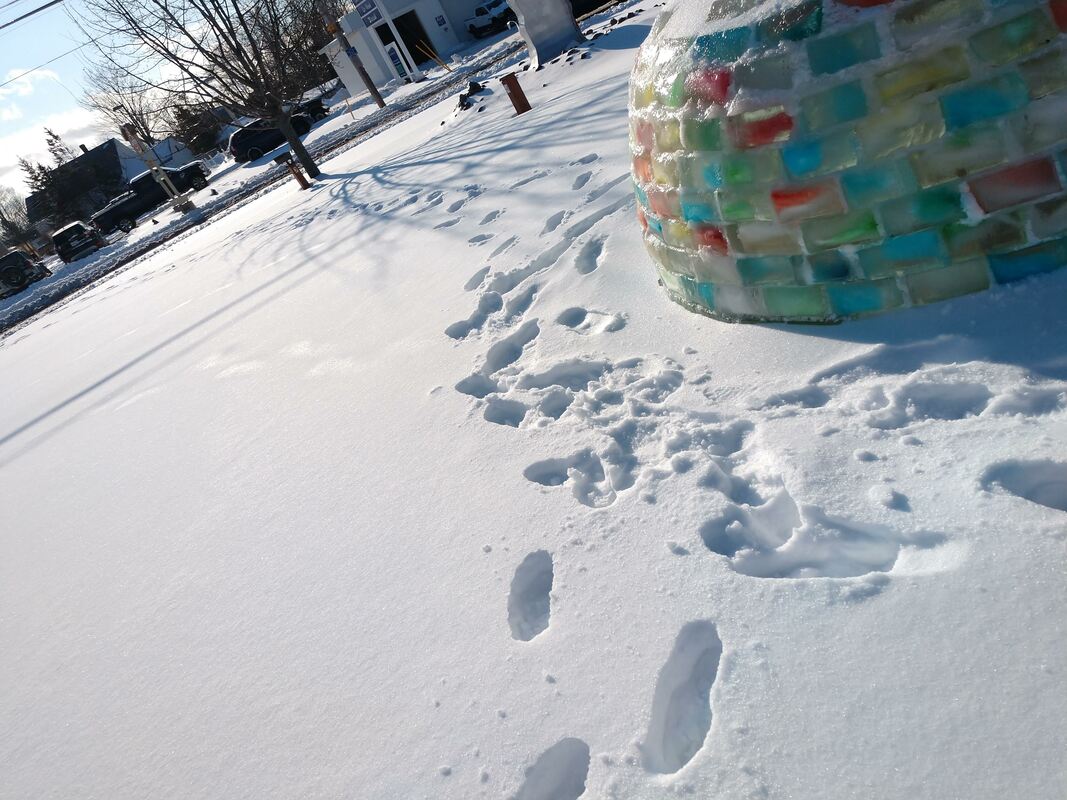
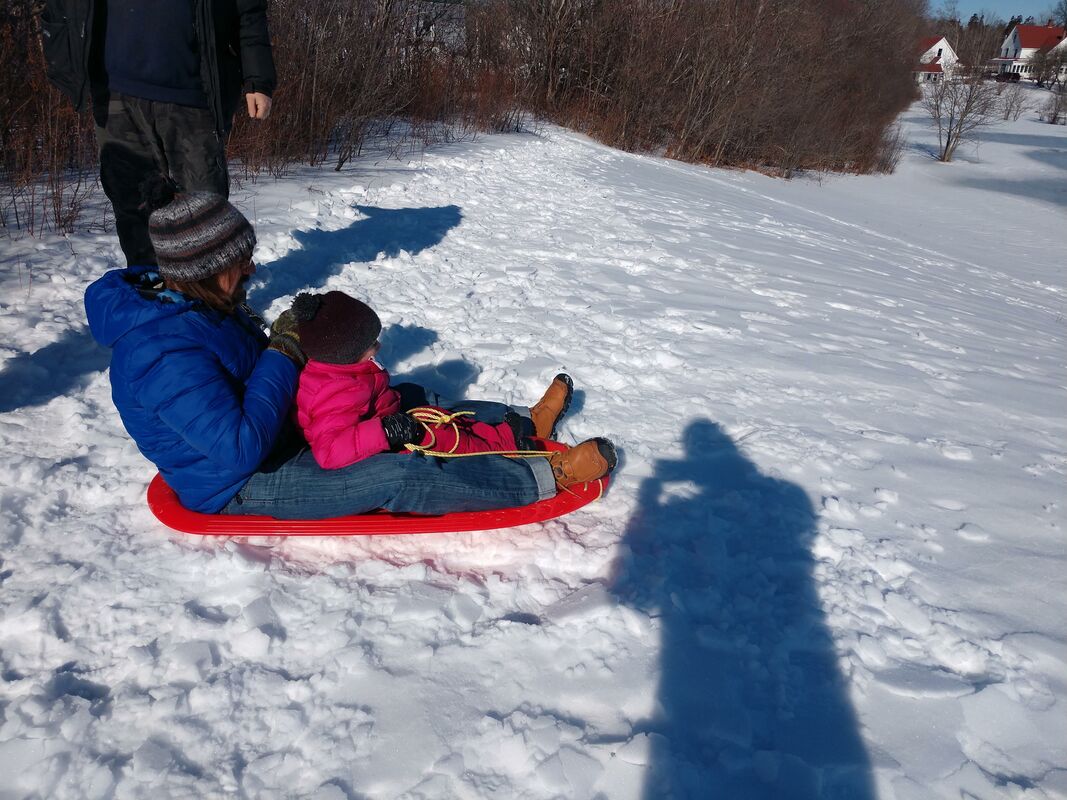
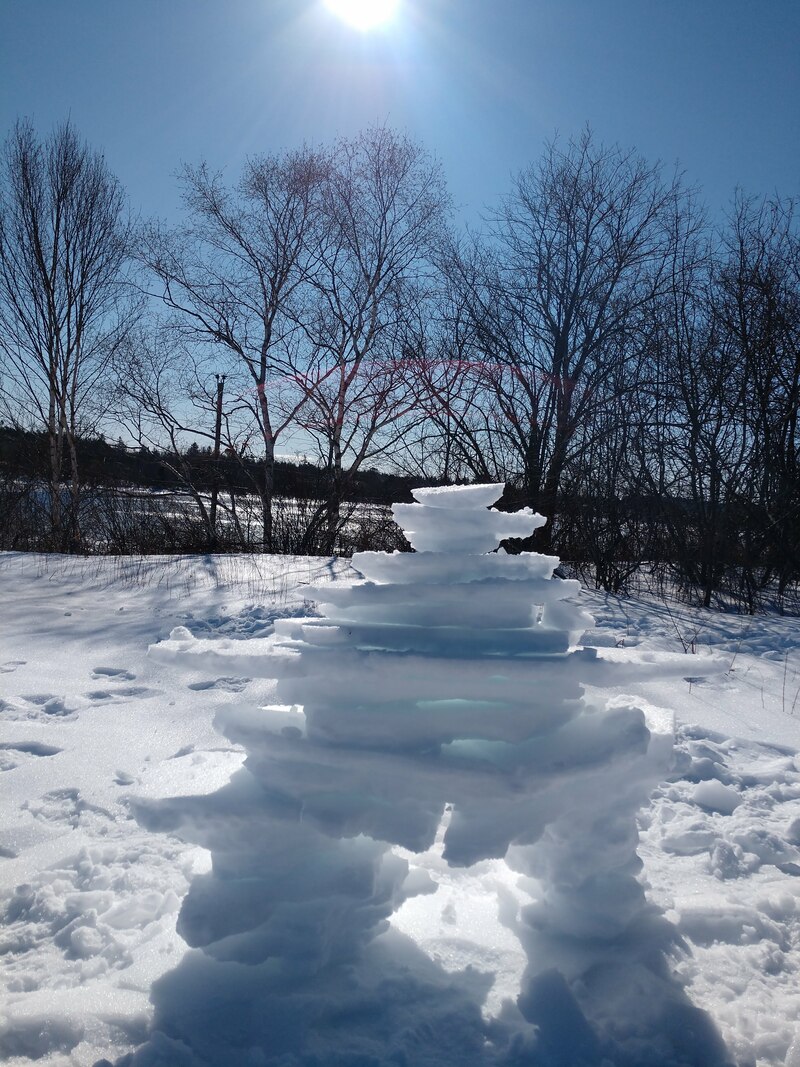
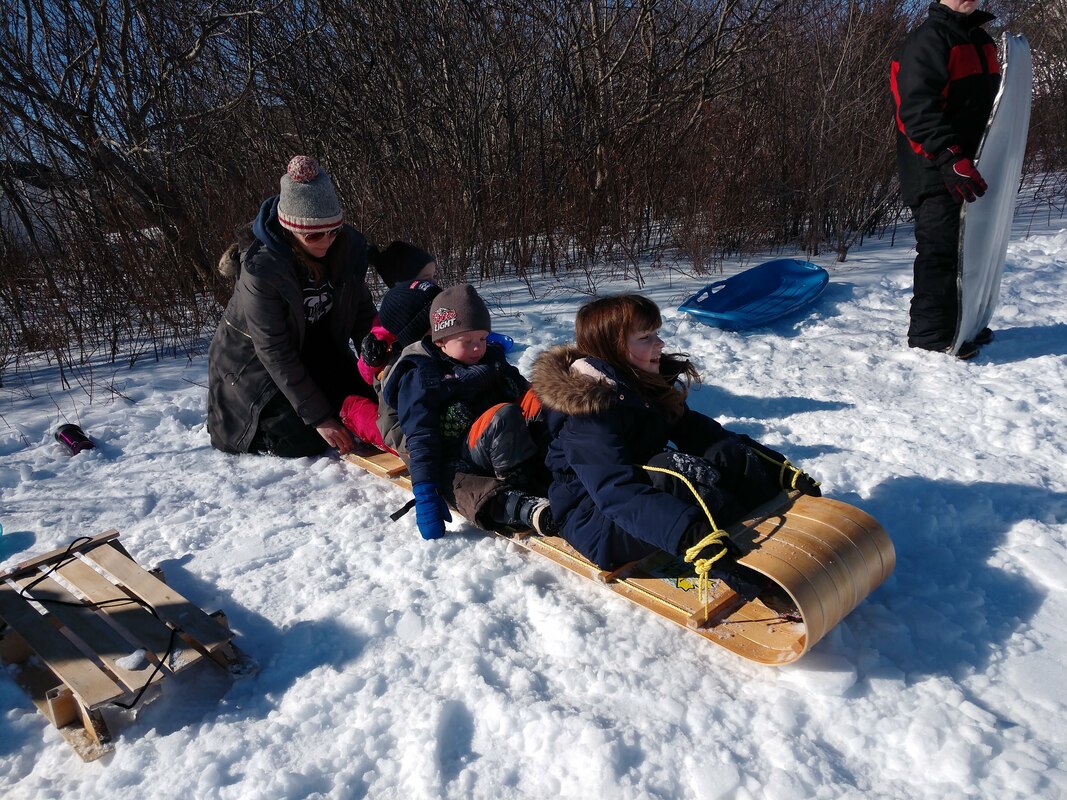
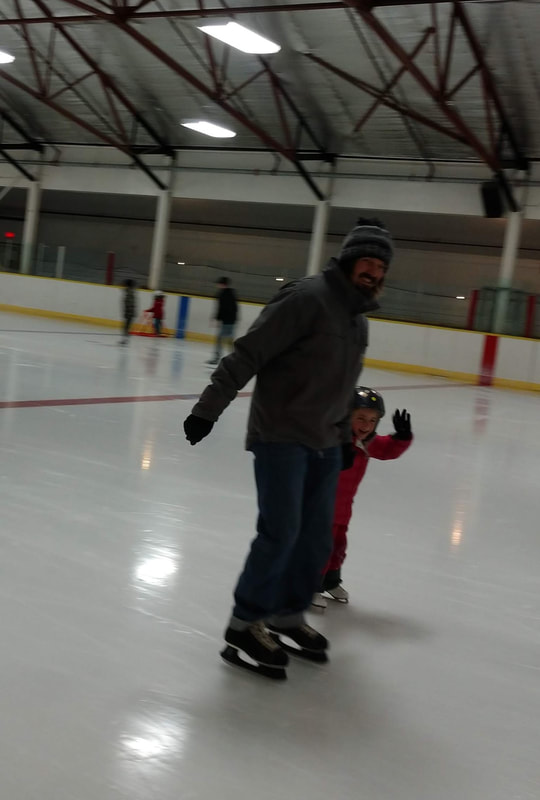
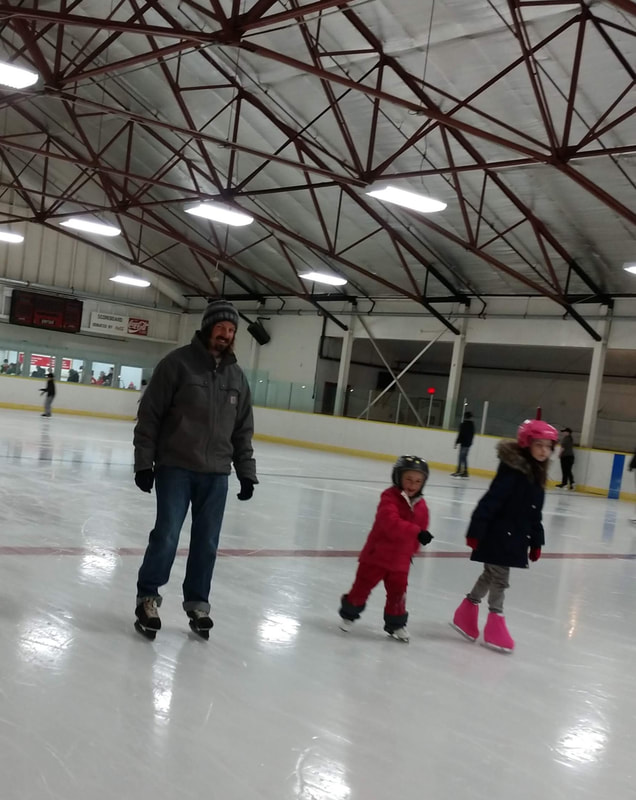
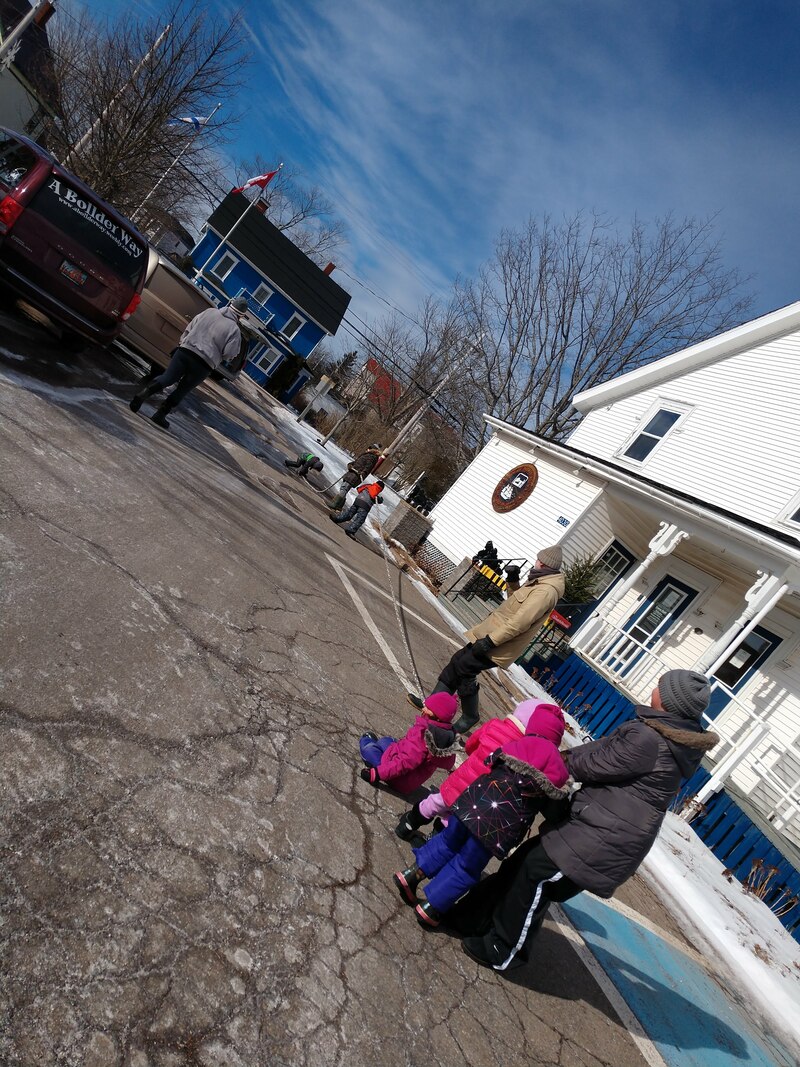
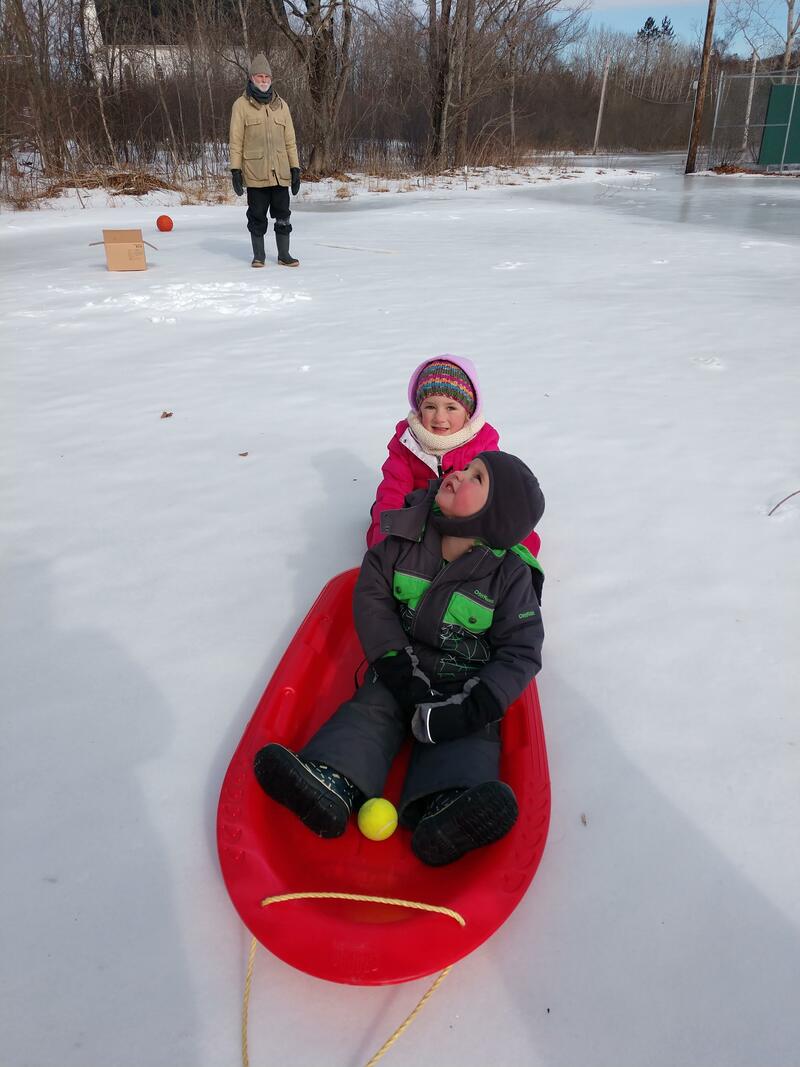
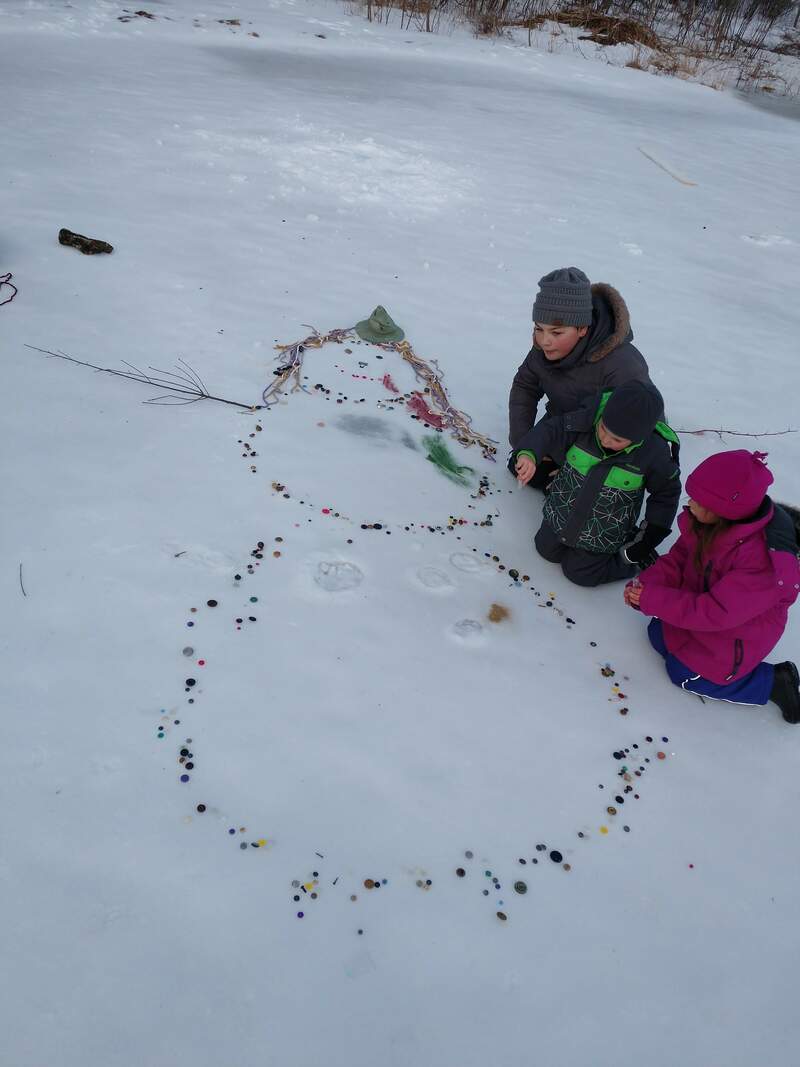
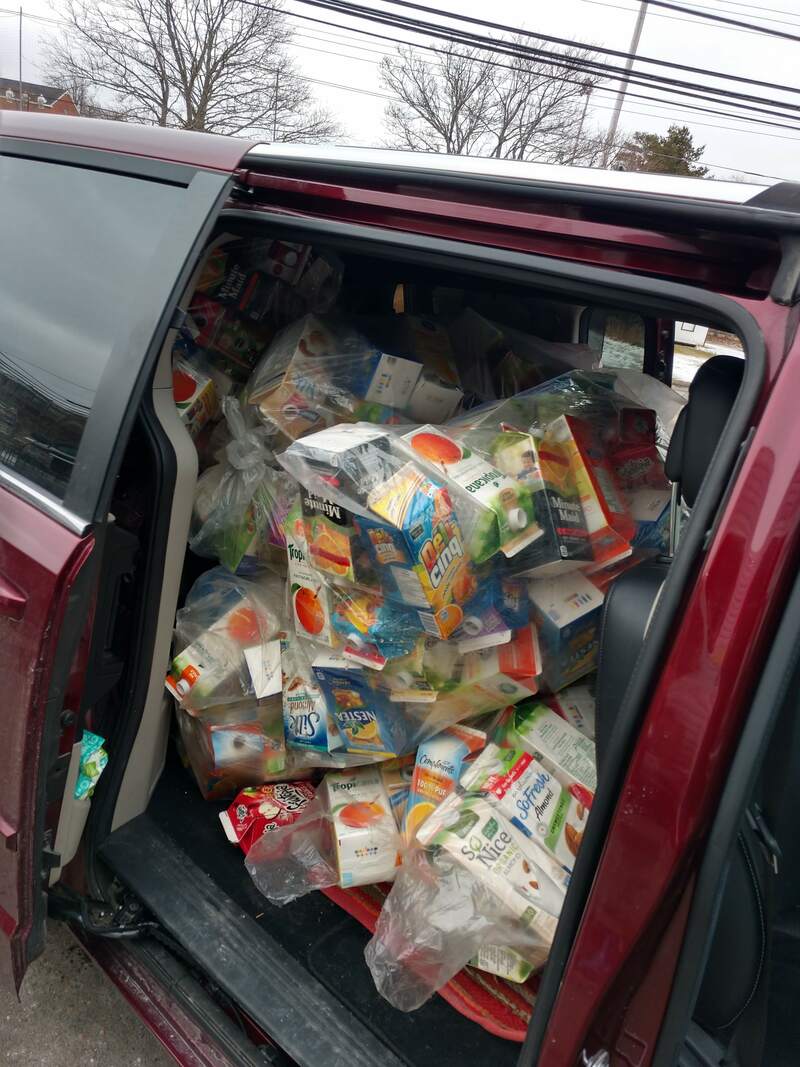
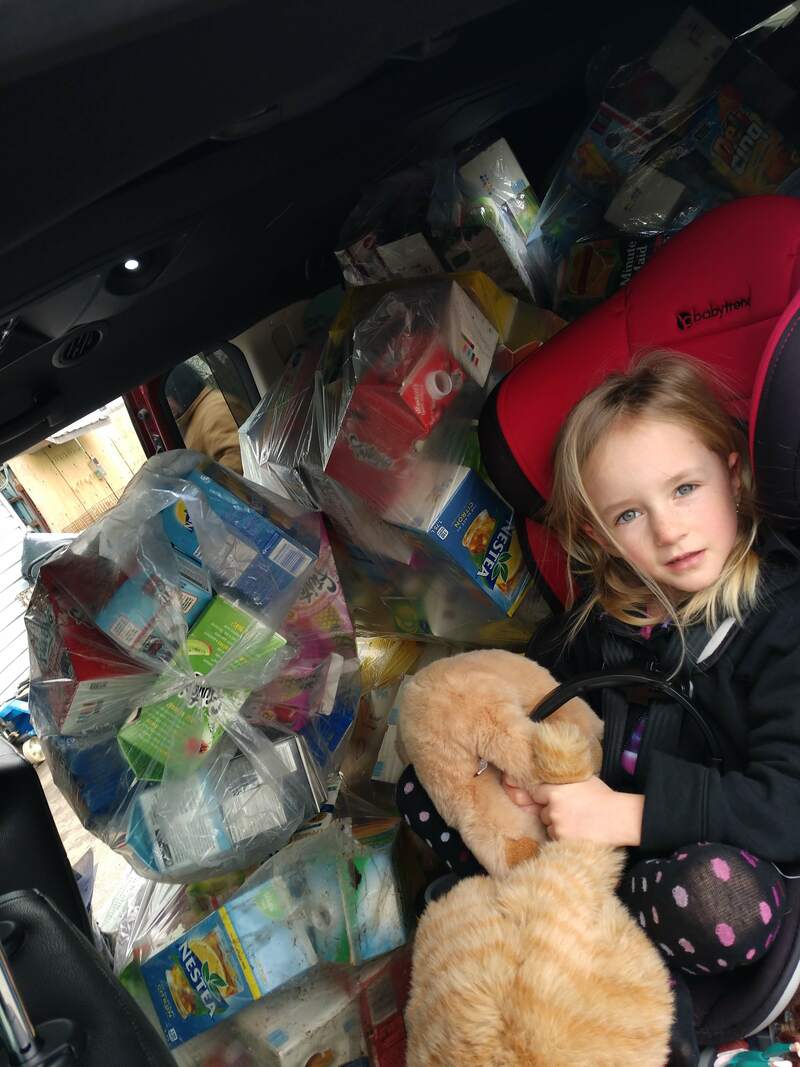
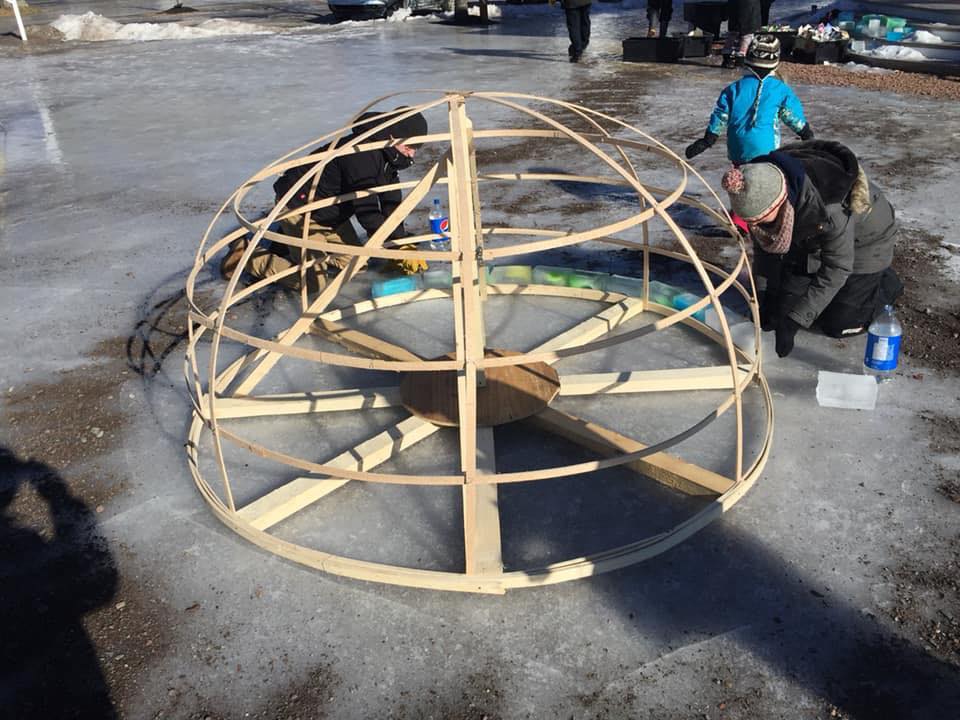
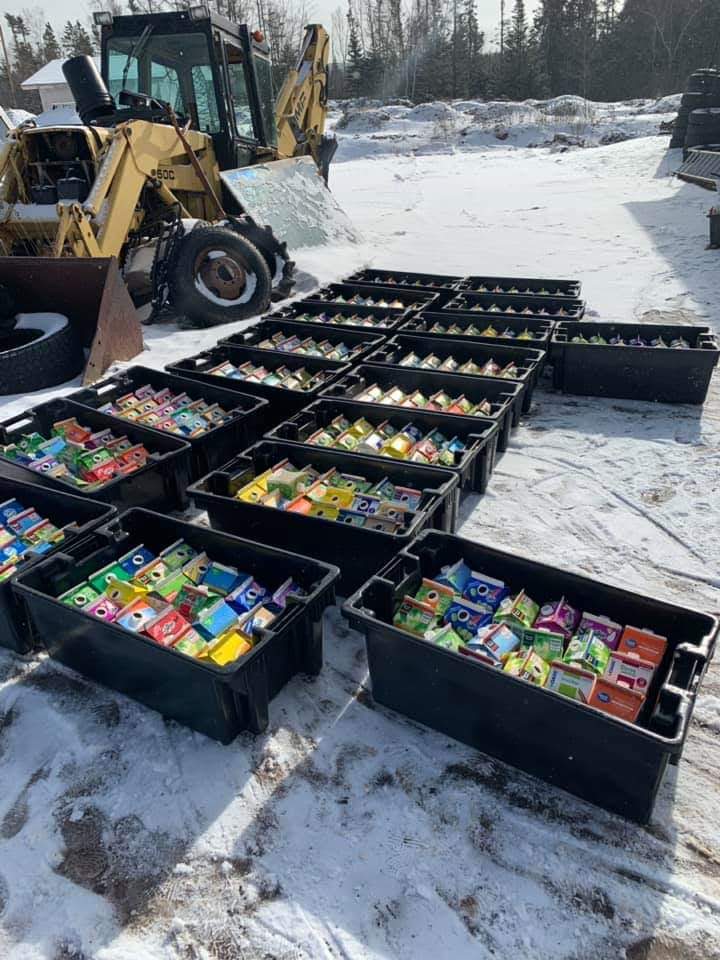
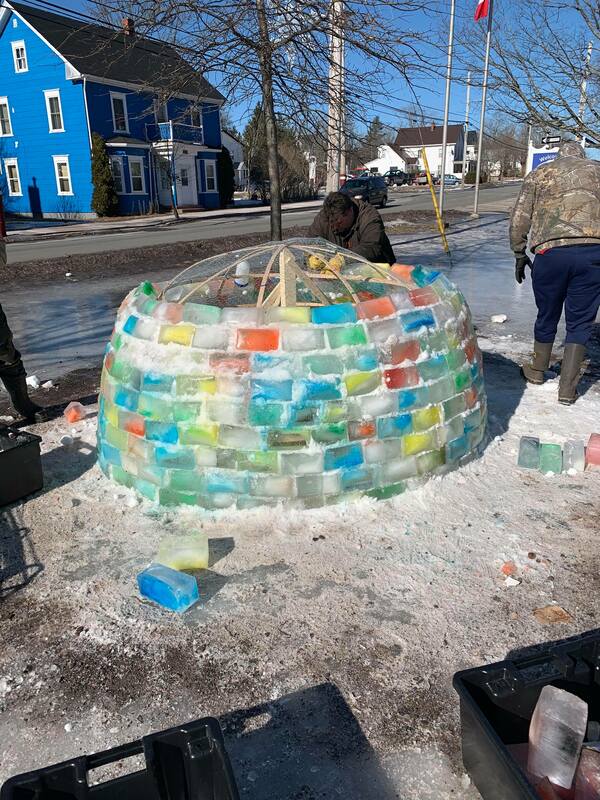
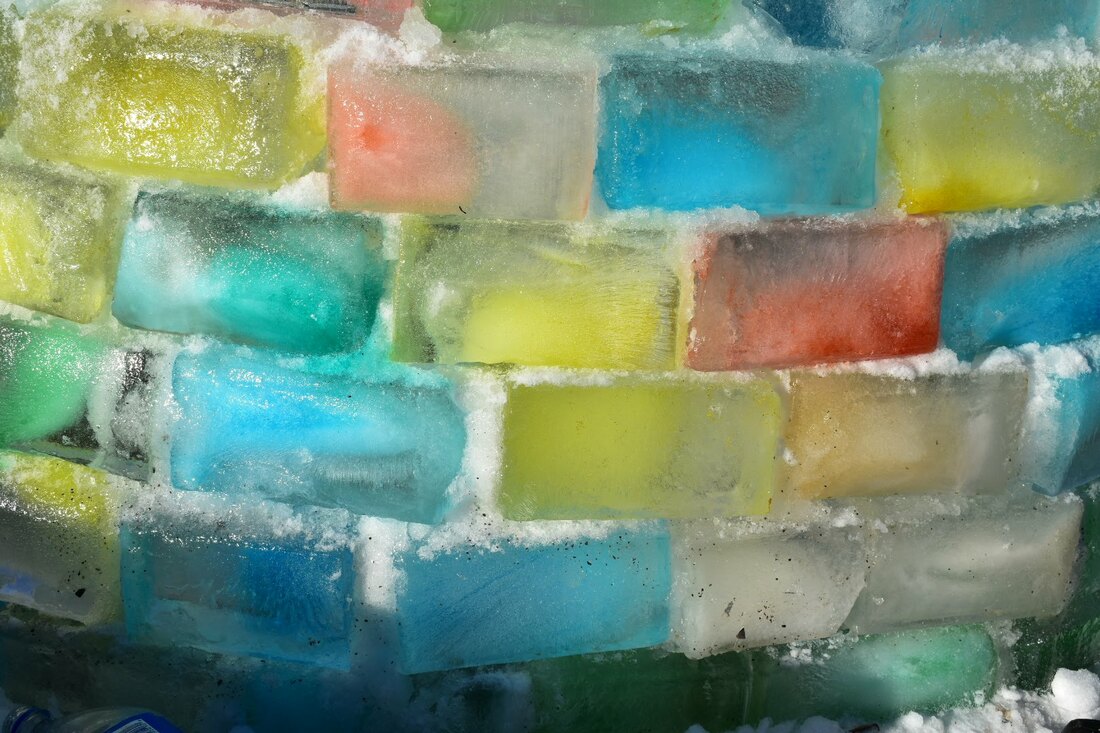
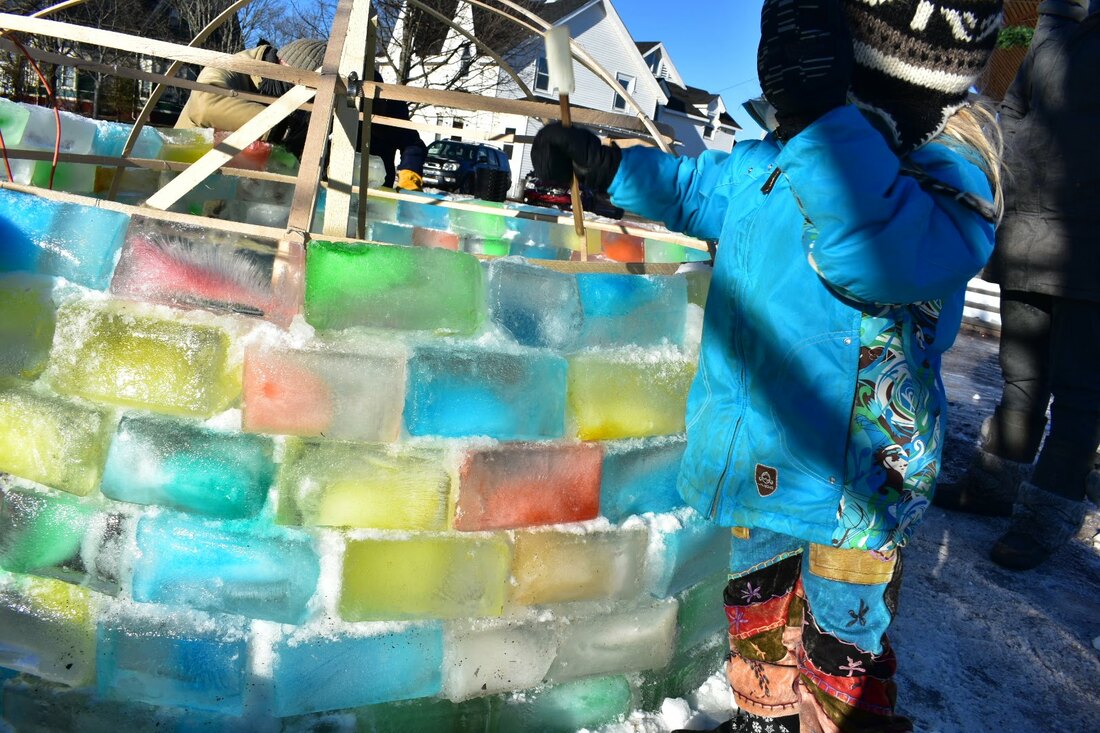
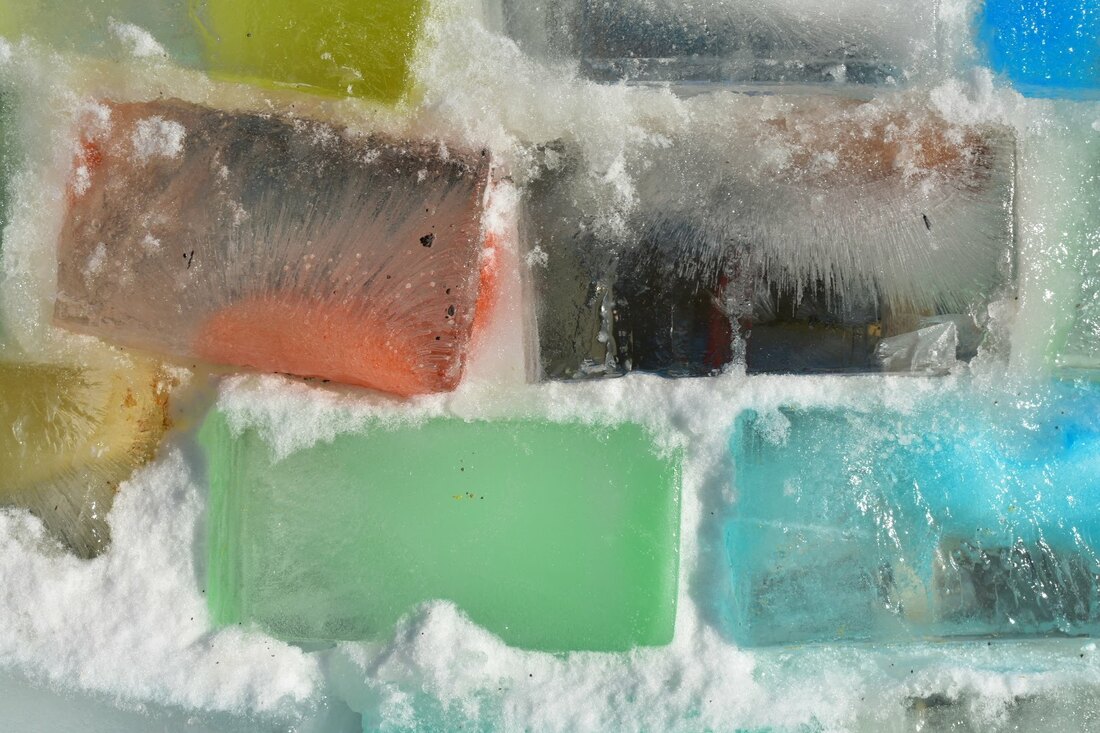
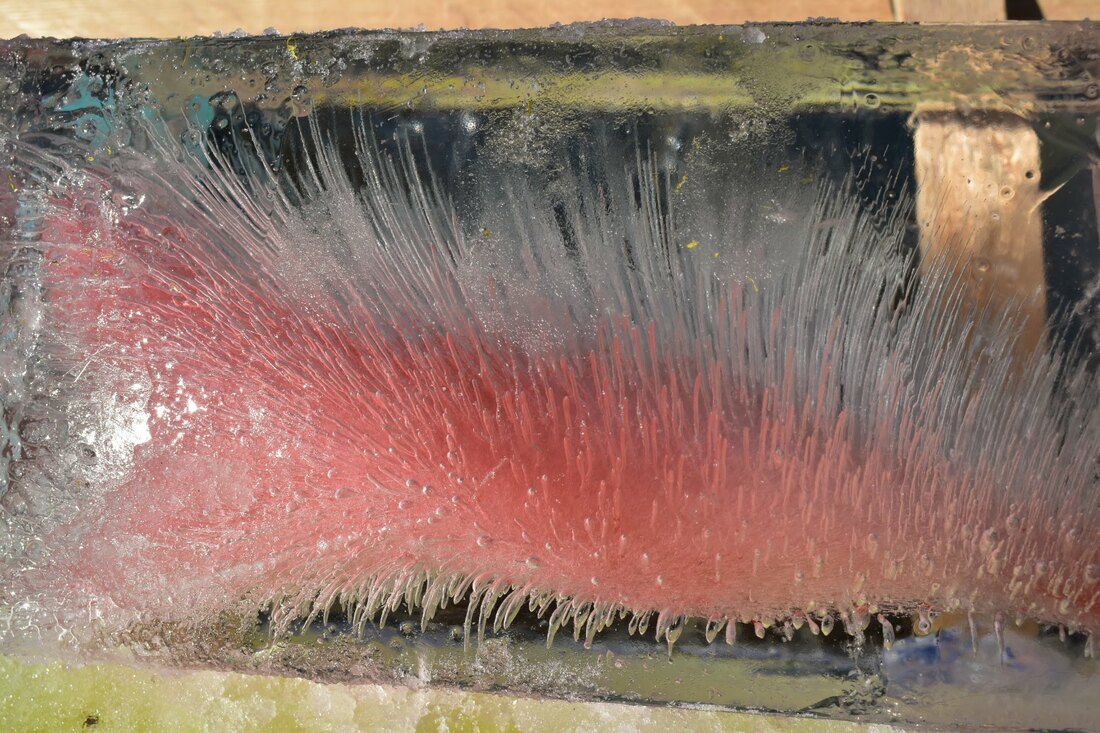
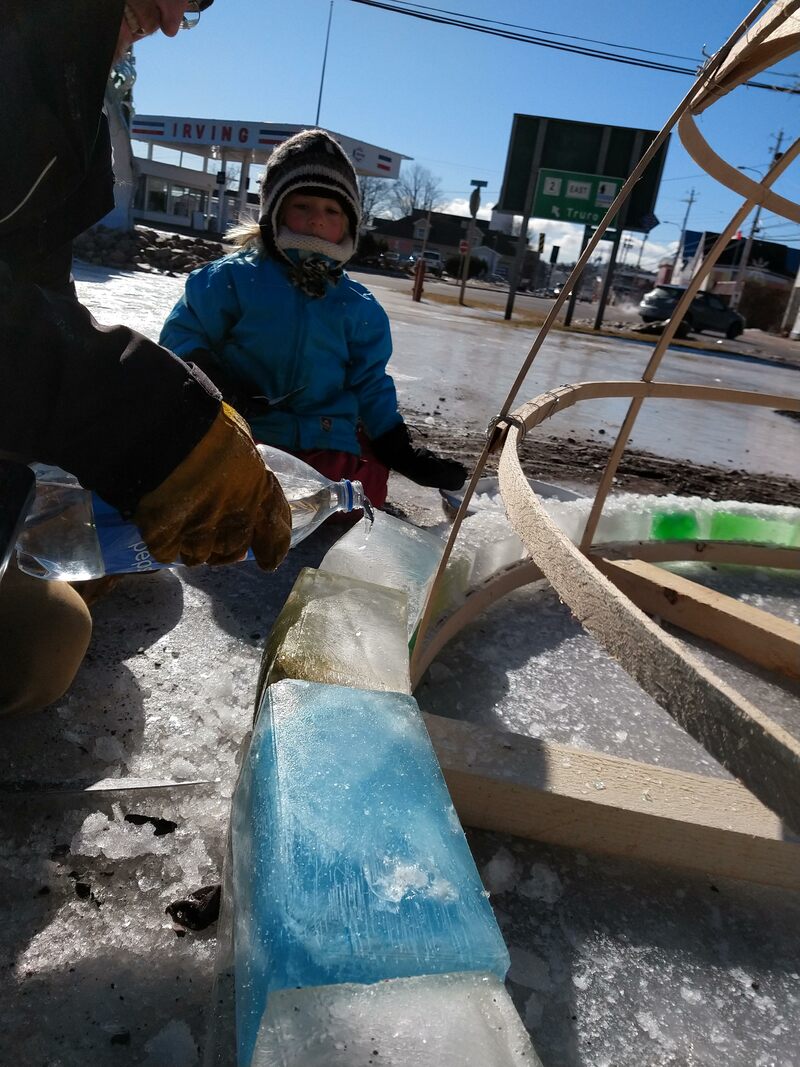
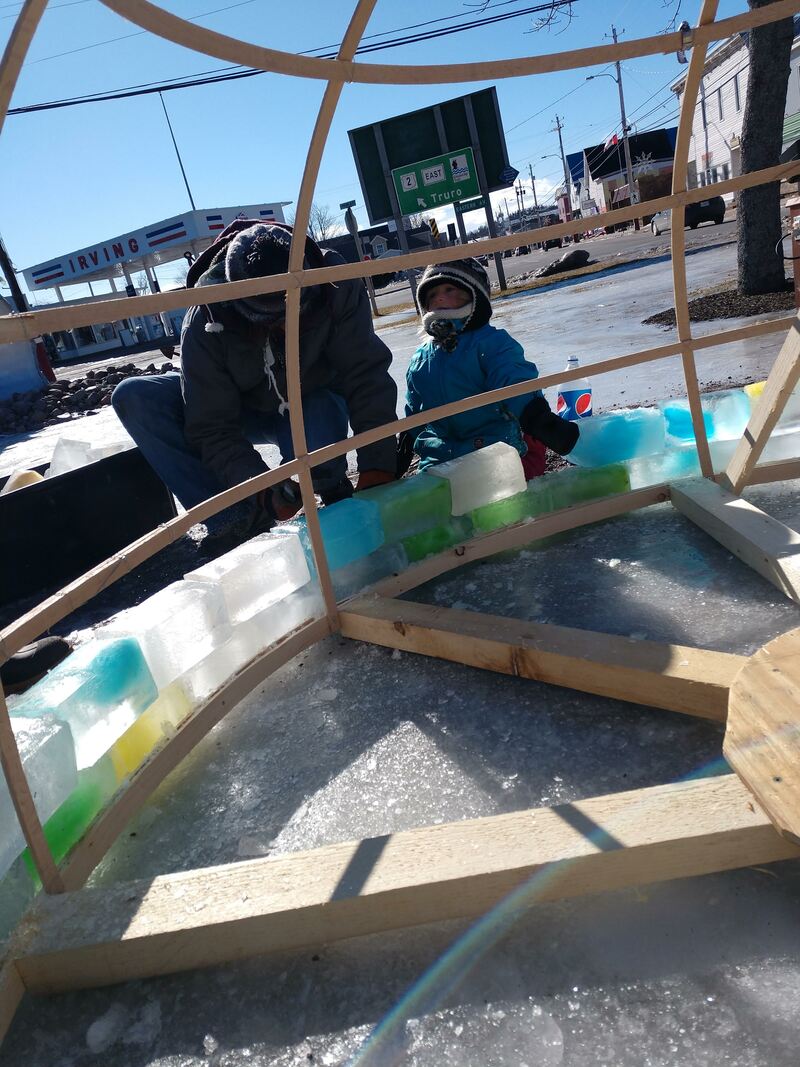
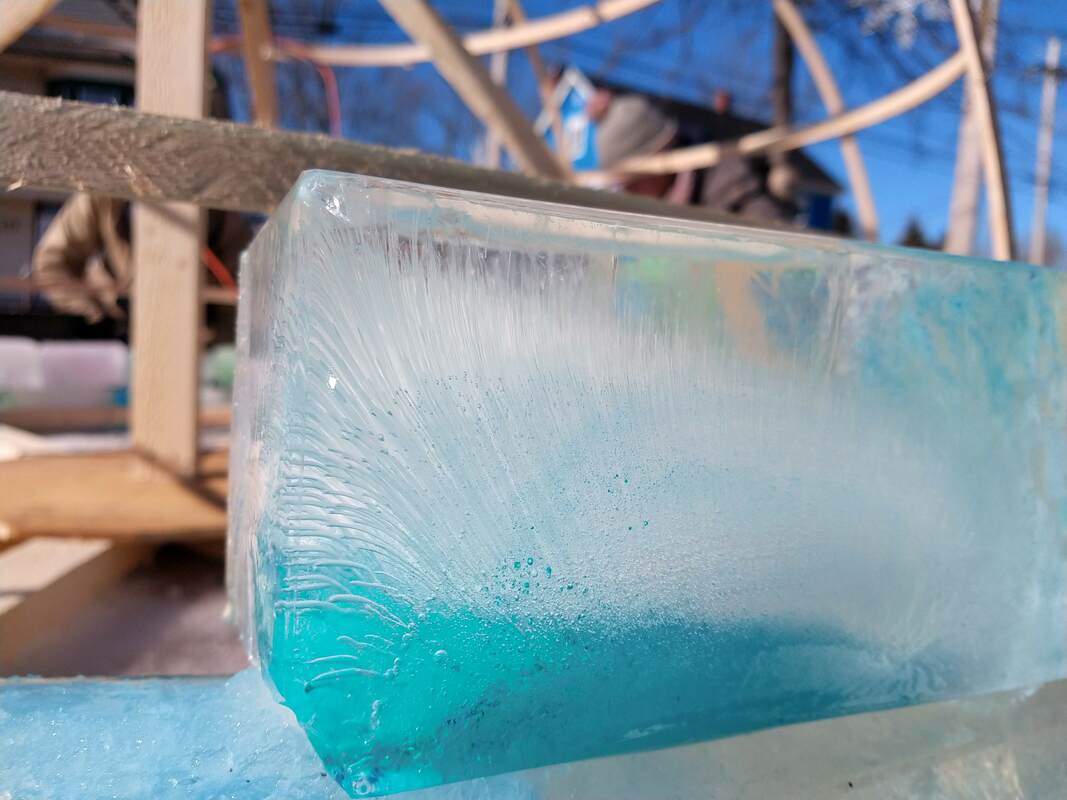
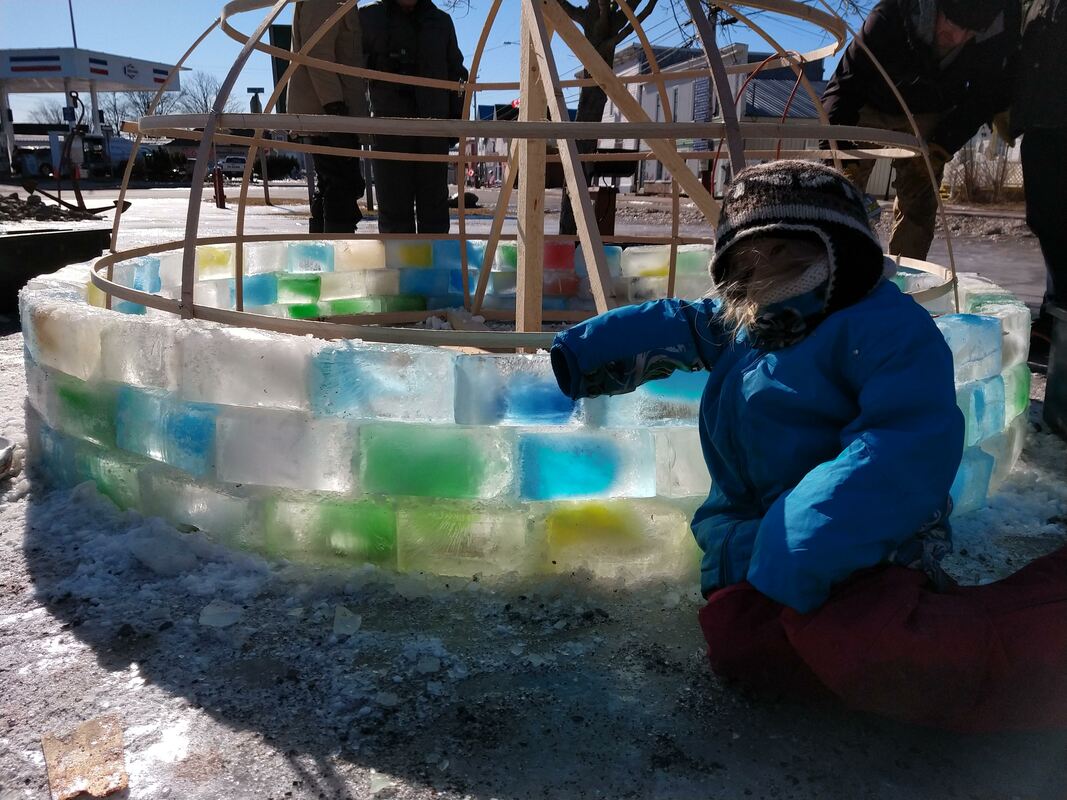
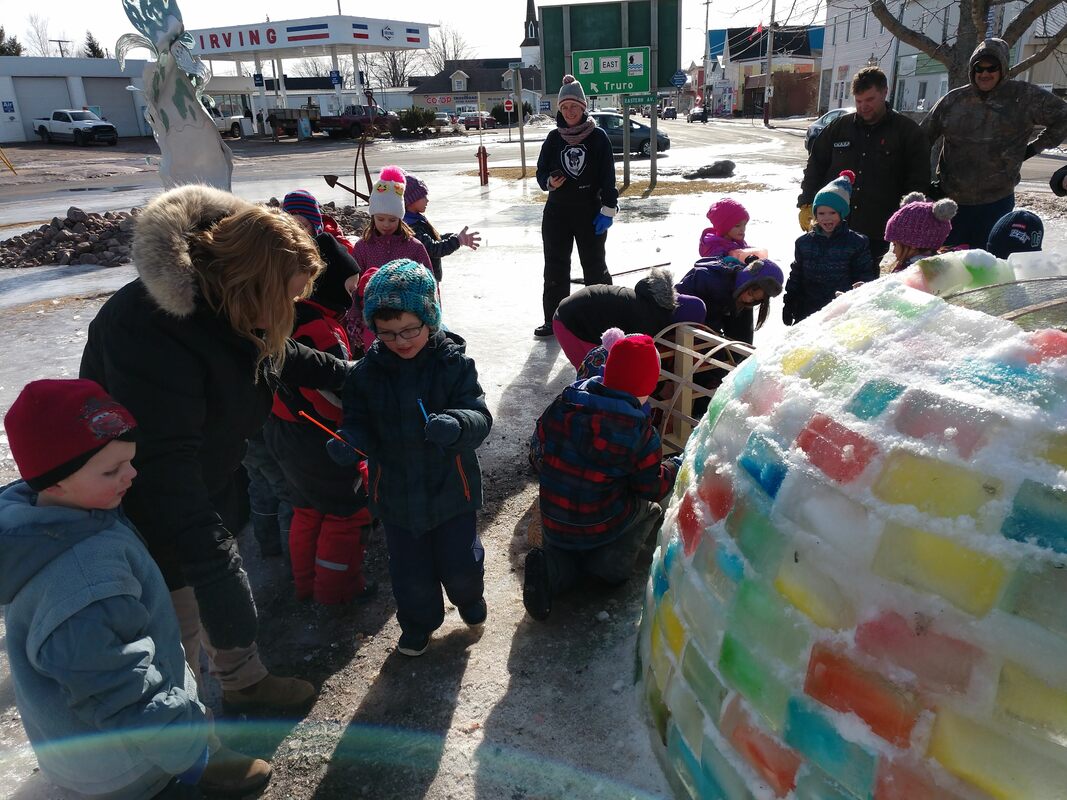
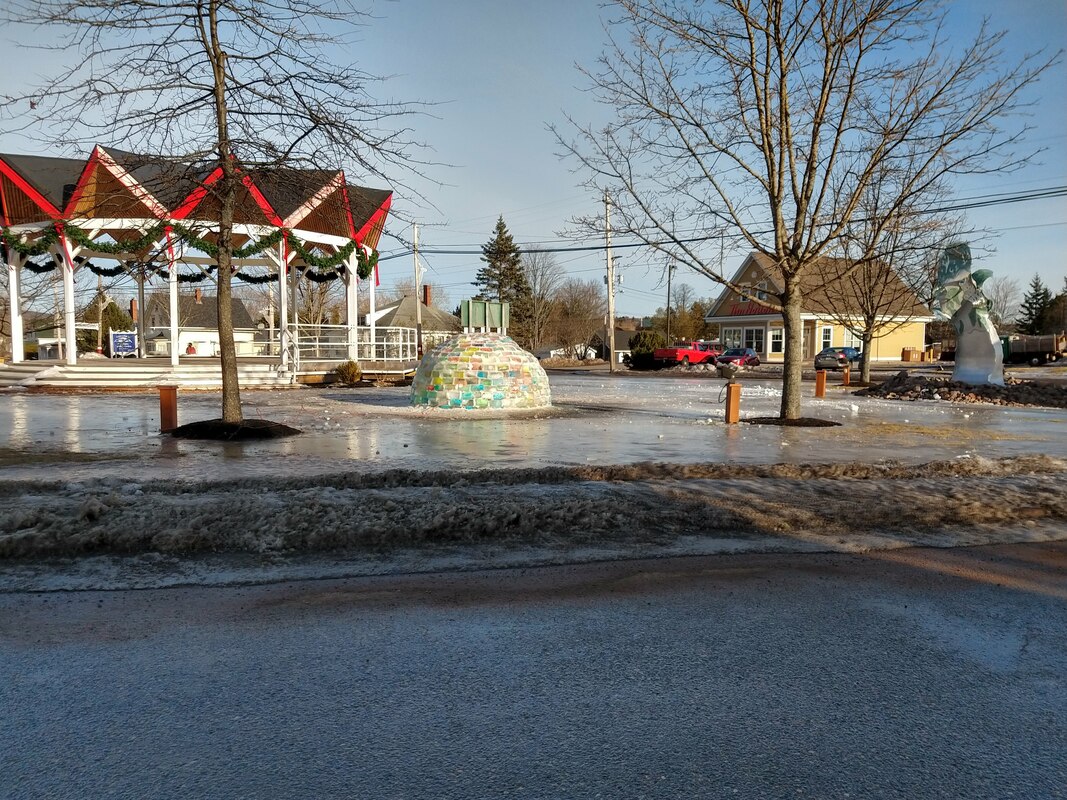
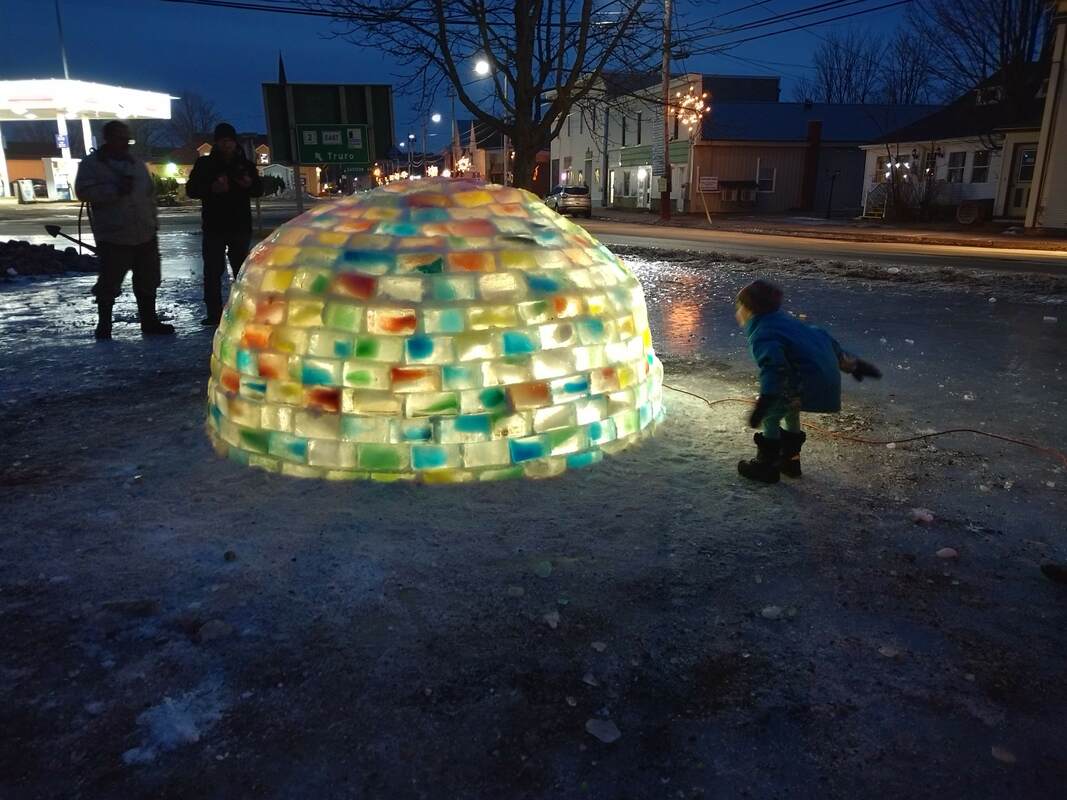
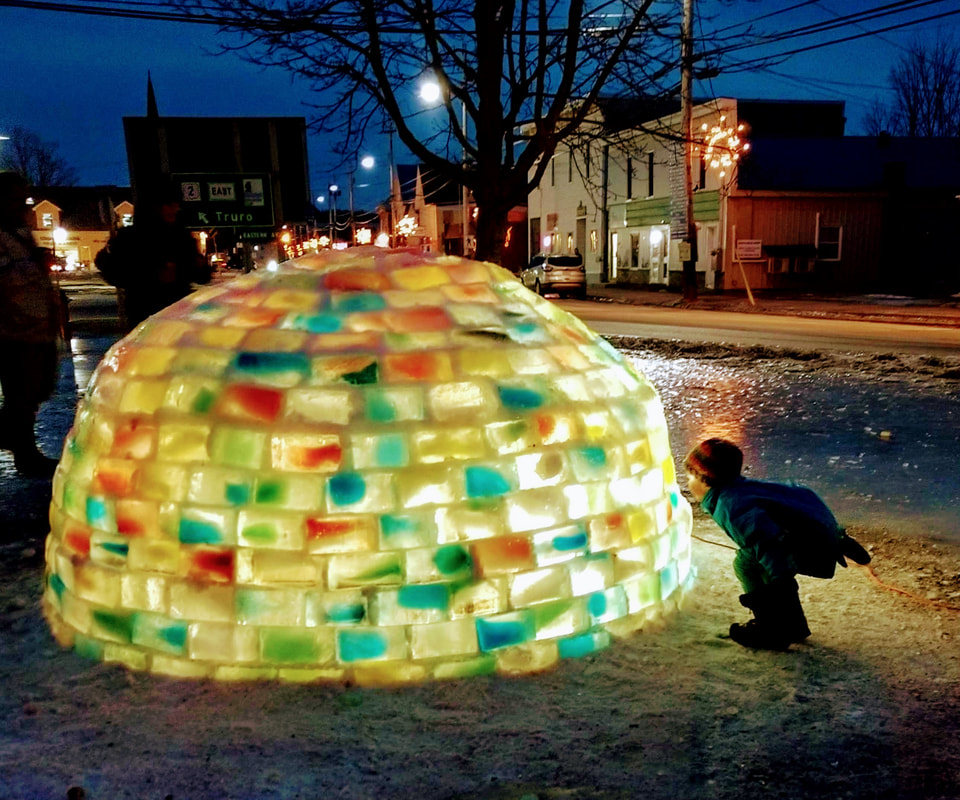
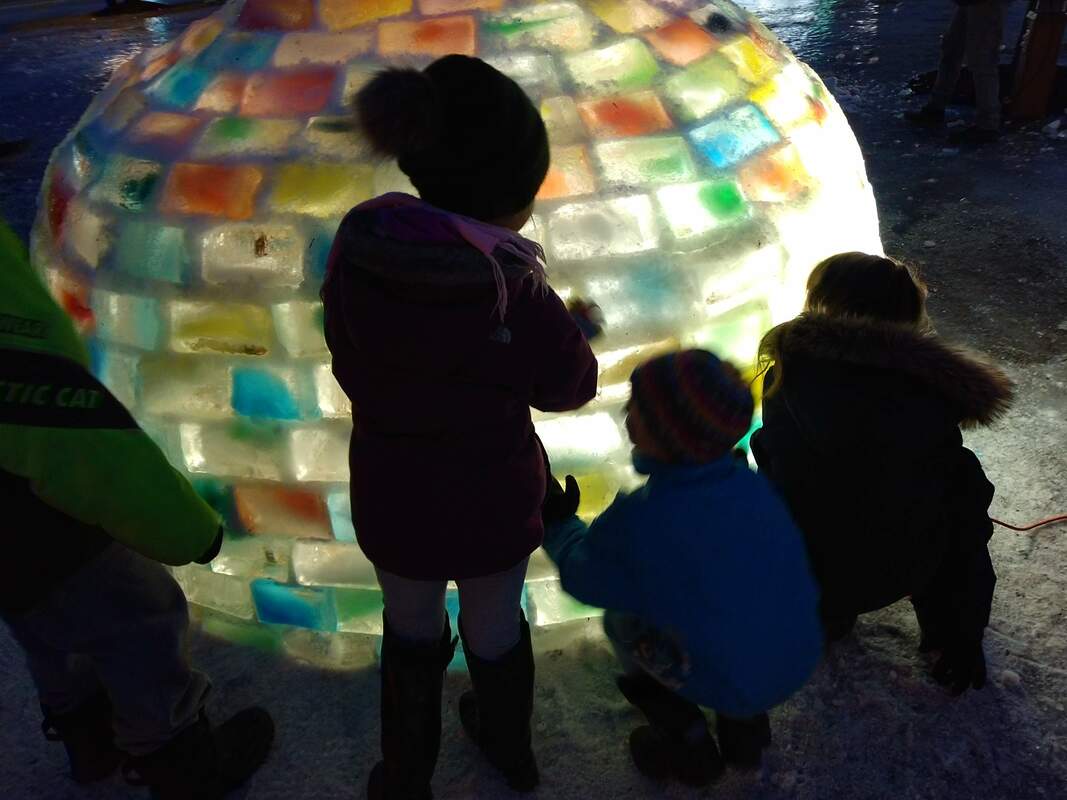
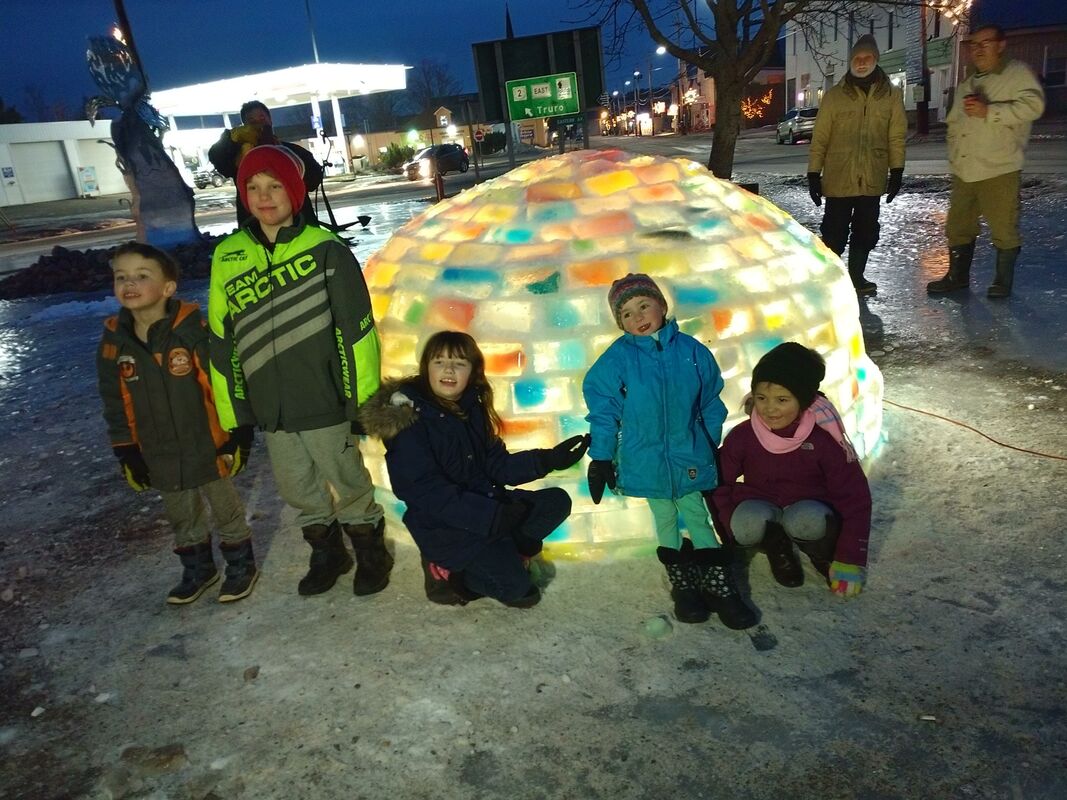
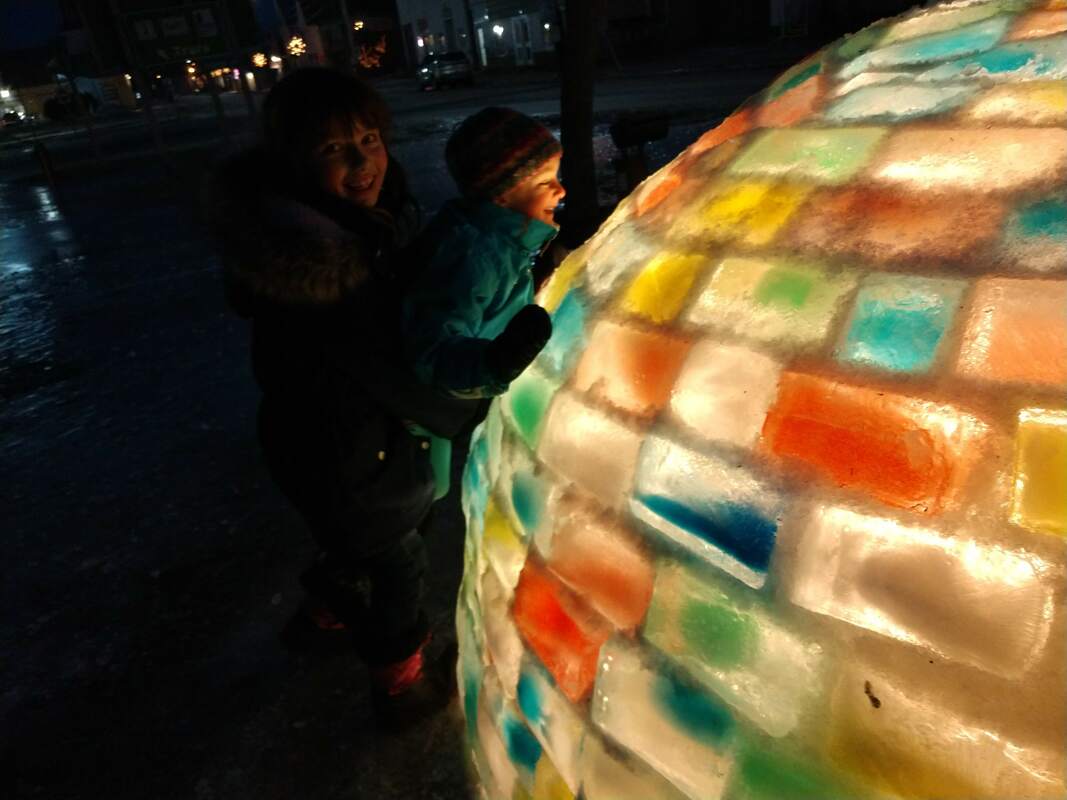
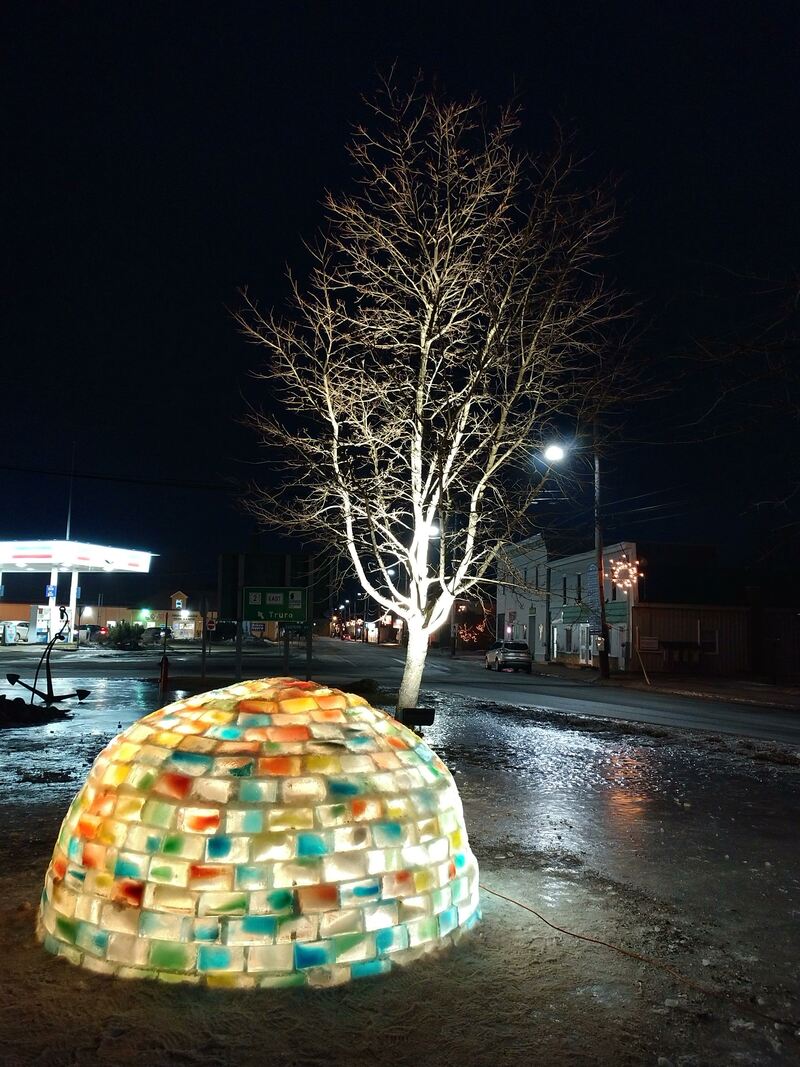
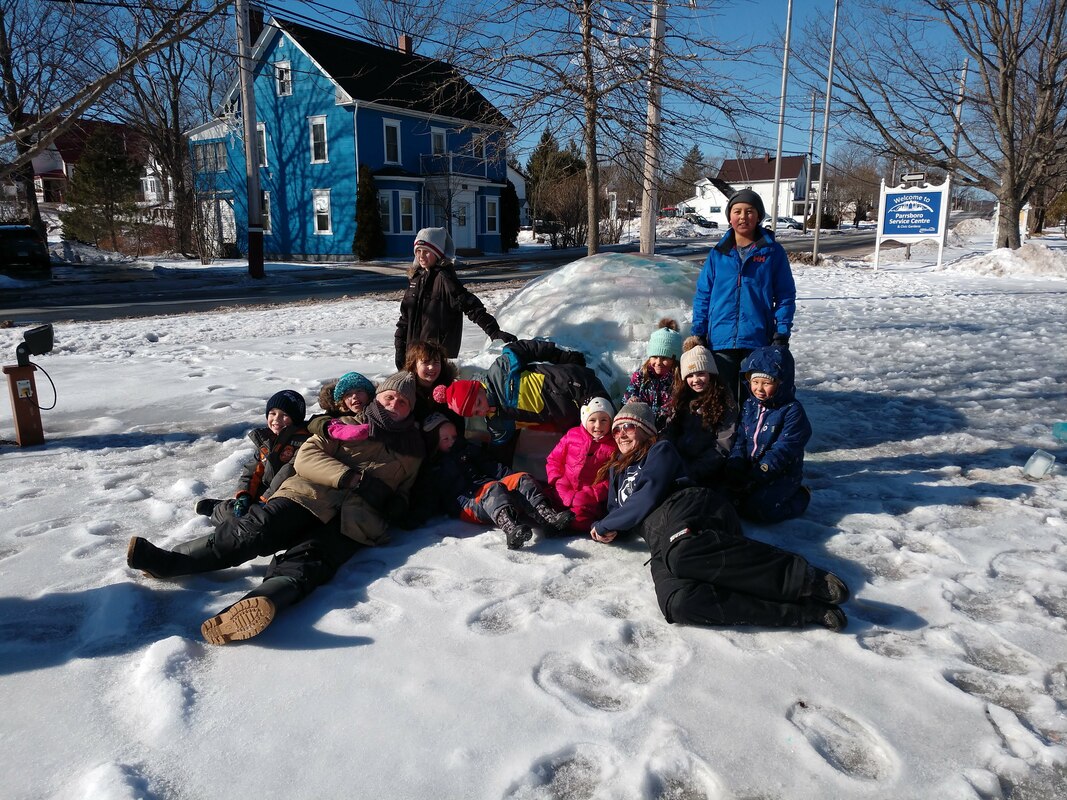
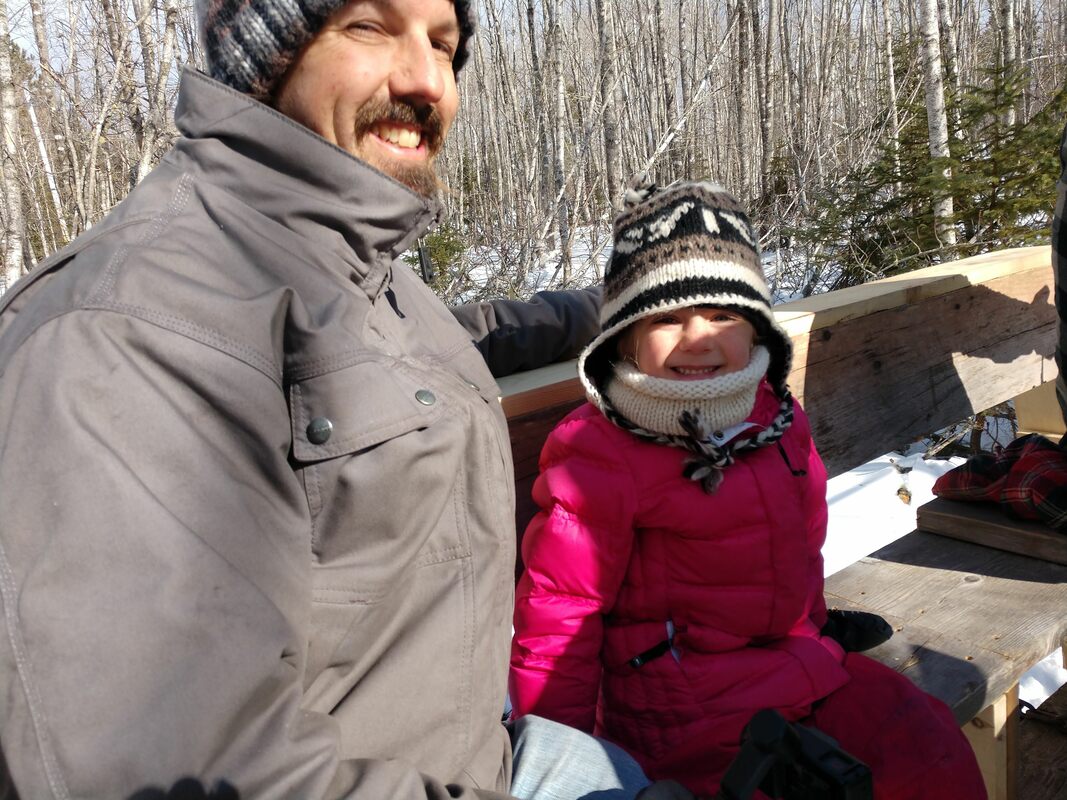
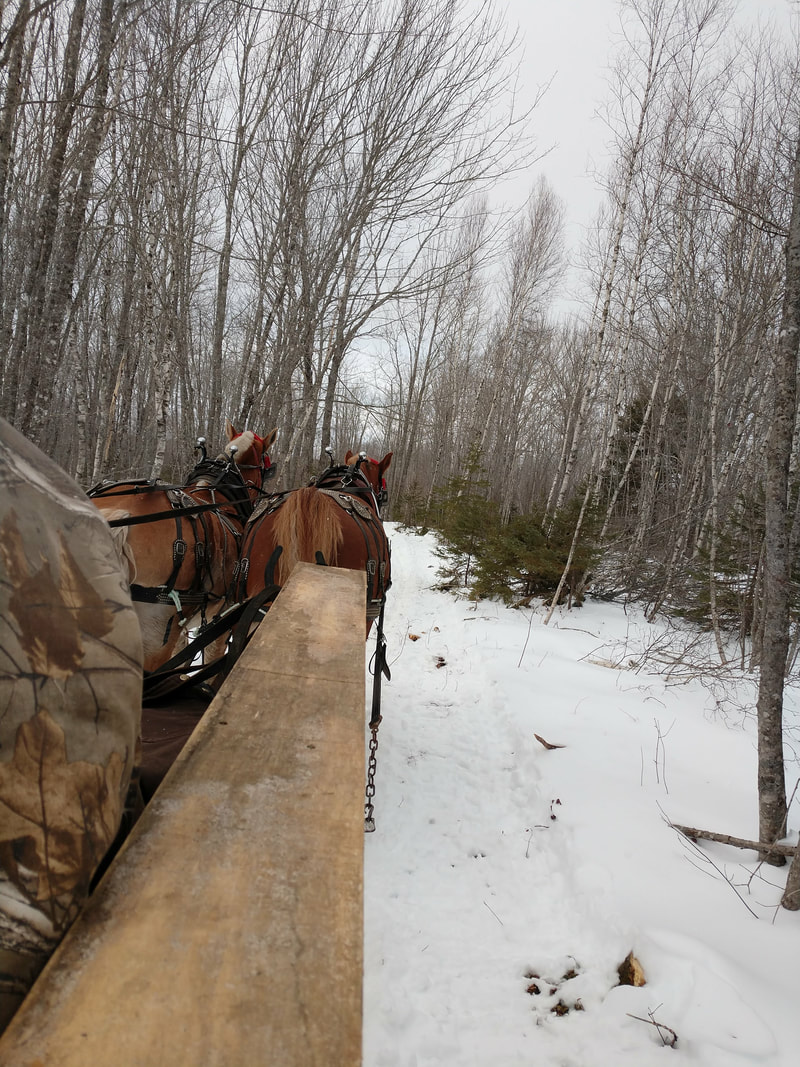
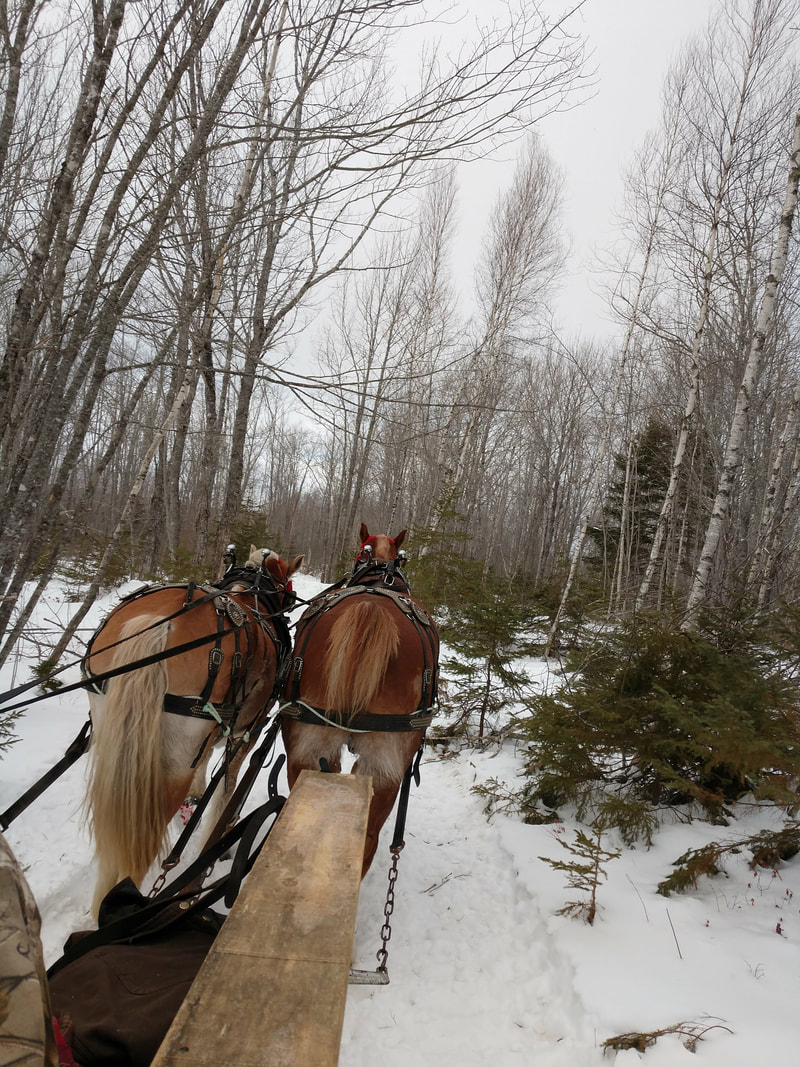
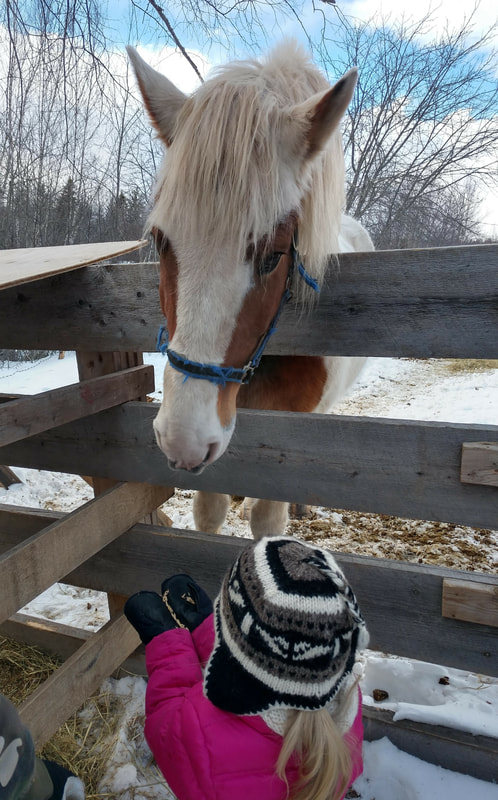
 From February 14th-18th, 2019 the Fundy Shore came alive with the first annual Fundy Shore Winter Carnival. It was 4 solid days packed with activities designed to get everyone in the community out and enjoying all that our Canadian winters have to offer. Each day had something to offer - community breakfasts and lunches, kids' activities, snow people building, sledding, igloo construction, snowshoe hikes, craft/bake sale, pick-up hockey, sledge hockey, bingo, shuffle board, and public skating. We got out each day and participated in as much as we could. One of our families biggest commitments was to help with the glow in the dark ice igloo construction. Check out our separate blog post for the full description. We had freezing rain on top of snow right before the carnival - which turned the town into a sheet of ice. That didn't stop the festivities....the snow people creations ended up as snow block sculptures or designed with buttons on the ice, tug of war ended up on concrete so they didn't slip on the ice, sledding was extra fast as the hill had a coat of ice and we were able to play games like toboggan whiplash. It was a fantastic way to get the community excited about this cold winter weather. As the temperatures stay well below freezing, and the penetrating winds create a wind chill that will freeze your nose hair within minutes, our family accepts the challenge to join a few dozen community members to build an epic ice igloo in the center of town for the upcoming Winter Carnival. The huge project was spearheaded by our friend Crystal who saw the idea from another town in Nova Scotia and knew that our little town of Parrsboro would appreciate this addition to our town square. Her perseverance and dedication to the project amazed us and we wanted to help alleviate some of the burden as it was a huge undertaking. To start with, about 700 two litre juice and milk jugs were collected from all around the community, including the 400 we acquired from the recycling depot an hour away and stuffed into Reddy (our little red travel van). Next step was to fill all those jugs with water and food coloring. To accomplish this task, the scouts, guides, and school kids were enlisted throughout the week to help out. The week leading up to the carnival had fluctuating temperatures so it would have been hard for the water to freeze solid outside. Luckily, Crystal's family owns a huge walk-in freezer that they use during the fishing season that had room for all the jugs. In the mean time, Crystal's husband kindly built a wooden frame to be used when constructing the igloo with the ice blocks. On February 11th, construction began. When we arrived downtown the task of opening all of the ice blocks had started. It was a frigged morning, so even with gloves on, opening the boxes was quite difficult. Soon the frame arrived and construction commenced. Because the days leading up to the construction brought freezing rain there wasn't much snow to work with, so we made a few runs to the arena to get buckets of snow that had come off the ice by the Zamboni. After experimenting with the best way to create the snow mortar (water, slush, snow) a method was found. The construction of the dome ended up taking 11.5 hours, two days, about a dozen people, 450 ice blocks and many frozen bodies. :) This was on top of the over 13 hours of prep time. Two flood lights were placed in the center and the dome was sealed (because it is unmanned it was thought to be safer to seal it so that kids don't play inside and possibly get hurt). The evening of the second day of work we all met back up for the official lighting. It was beautiful. AND - It was done and lit! Final work on the door was done as part of the Carnival itself - members of the town brought down the blocks they have frozen at home and helped finish the construction of the igloo. We were lucky enough to spend the afternoon on a lovely family farm on Saturday afternoon. The Baker/Beeler family were offering sleigh rides on their new family farm between Amherst and Parrsboro for the weekend. Their Belgian horse team worked beautifully together and Earle was an amazing driver, deftly manoeuvring around 90 degree turns through the forest. I had been in contact with Rebecca for many months as she helped me get situated in the area and provided valuable information on areas of the province fit for homesteading in NS and local hits. It was lovely to be able to meet face to face, see their lovely property, and meet their fur family.
Watch our video of the ride on our YouTube channel |
Categories
All
Archives
April 2019
AuthorCarolyn and Will Bollwerk share their adventures with their 5 year-old daughter, Dylan. |


 RSS Feed
